Account Setup
This procedure helps you set up your team to access both this site and TheWEQ Assessment Portal. Setting up your team account is a two step process to allow your team to take full advantage of your benefits and tools.
STEP 1: GIVING TEAM ACCESS TO THE MEMBER PORTAL
When you signed up, you immediately have access to the Member Portal. This is where you can access blogs, download tools and templates, and access to instructions.
To give members of your team the same access, you'll need to set them up.
STEP 2: SETTING UP YOUR TEAM TO TAKE ASSESSMENTS AND TRAINING MANAGEMENT
The assessments, leadership development, and training management is done through TheWEQ Assessment engine. This site is set up separately from controlling your paid membership.
It is your choice whether you give your team access to the blogs and downloadable content (Step 1), it's not required to utilize the other features.
STEP 1: GIVING TEAM ACCESS TO THE MEMBER PORTAL
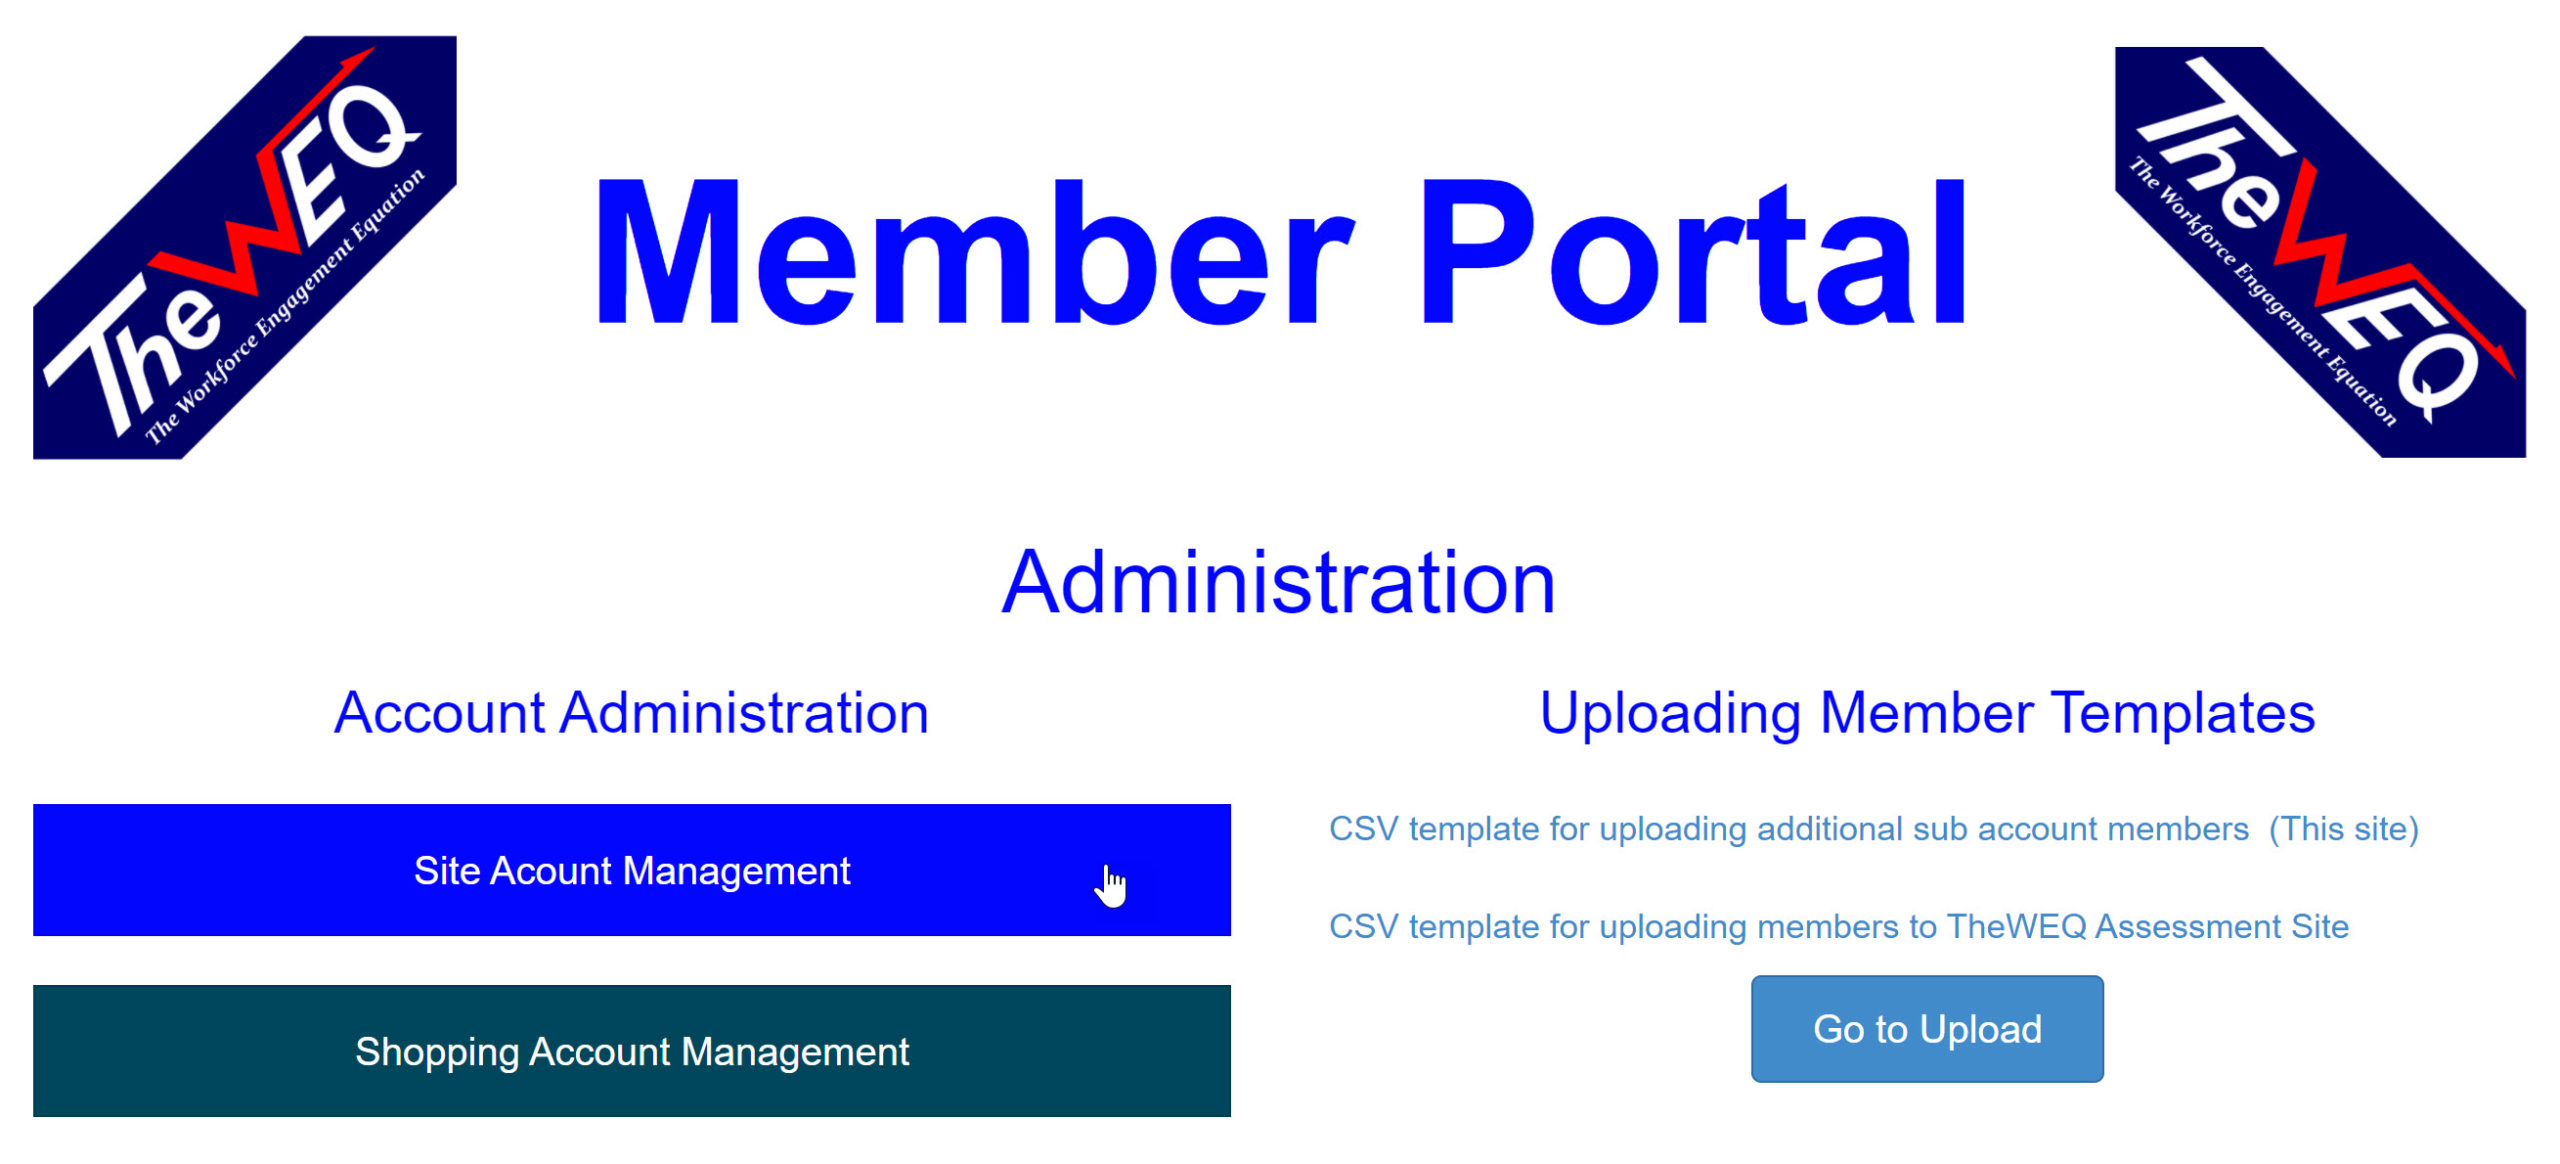
From the Member Portal select Site Account Management
Select Subscriptions.
Select Sub-Accounts


Select the Add Sub Account button
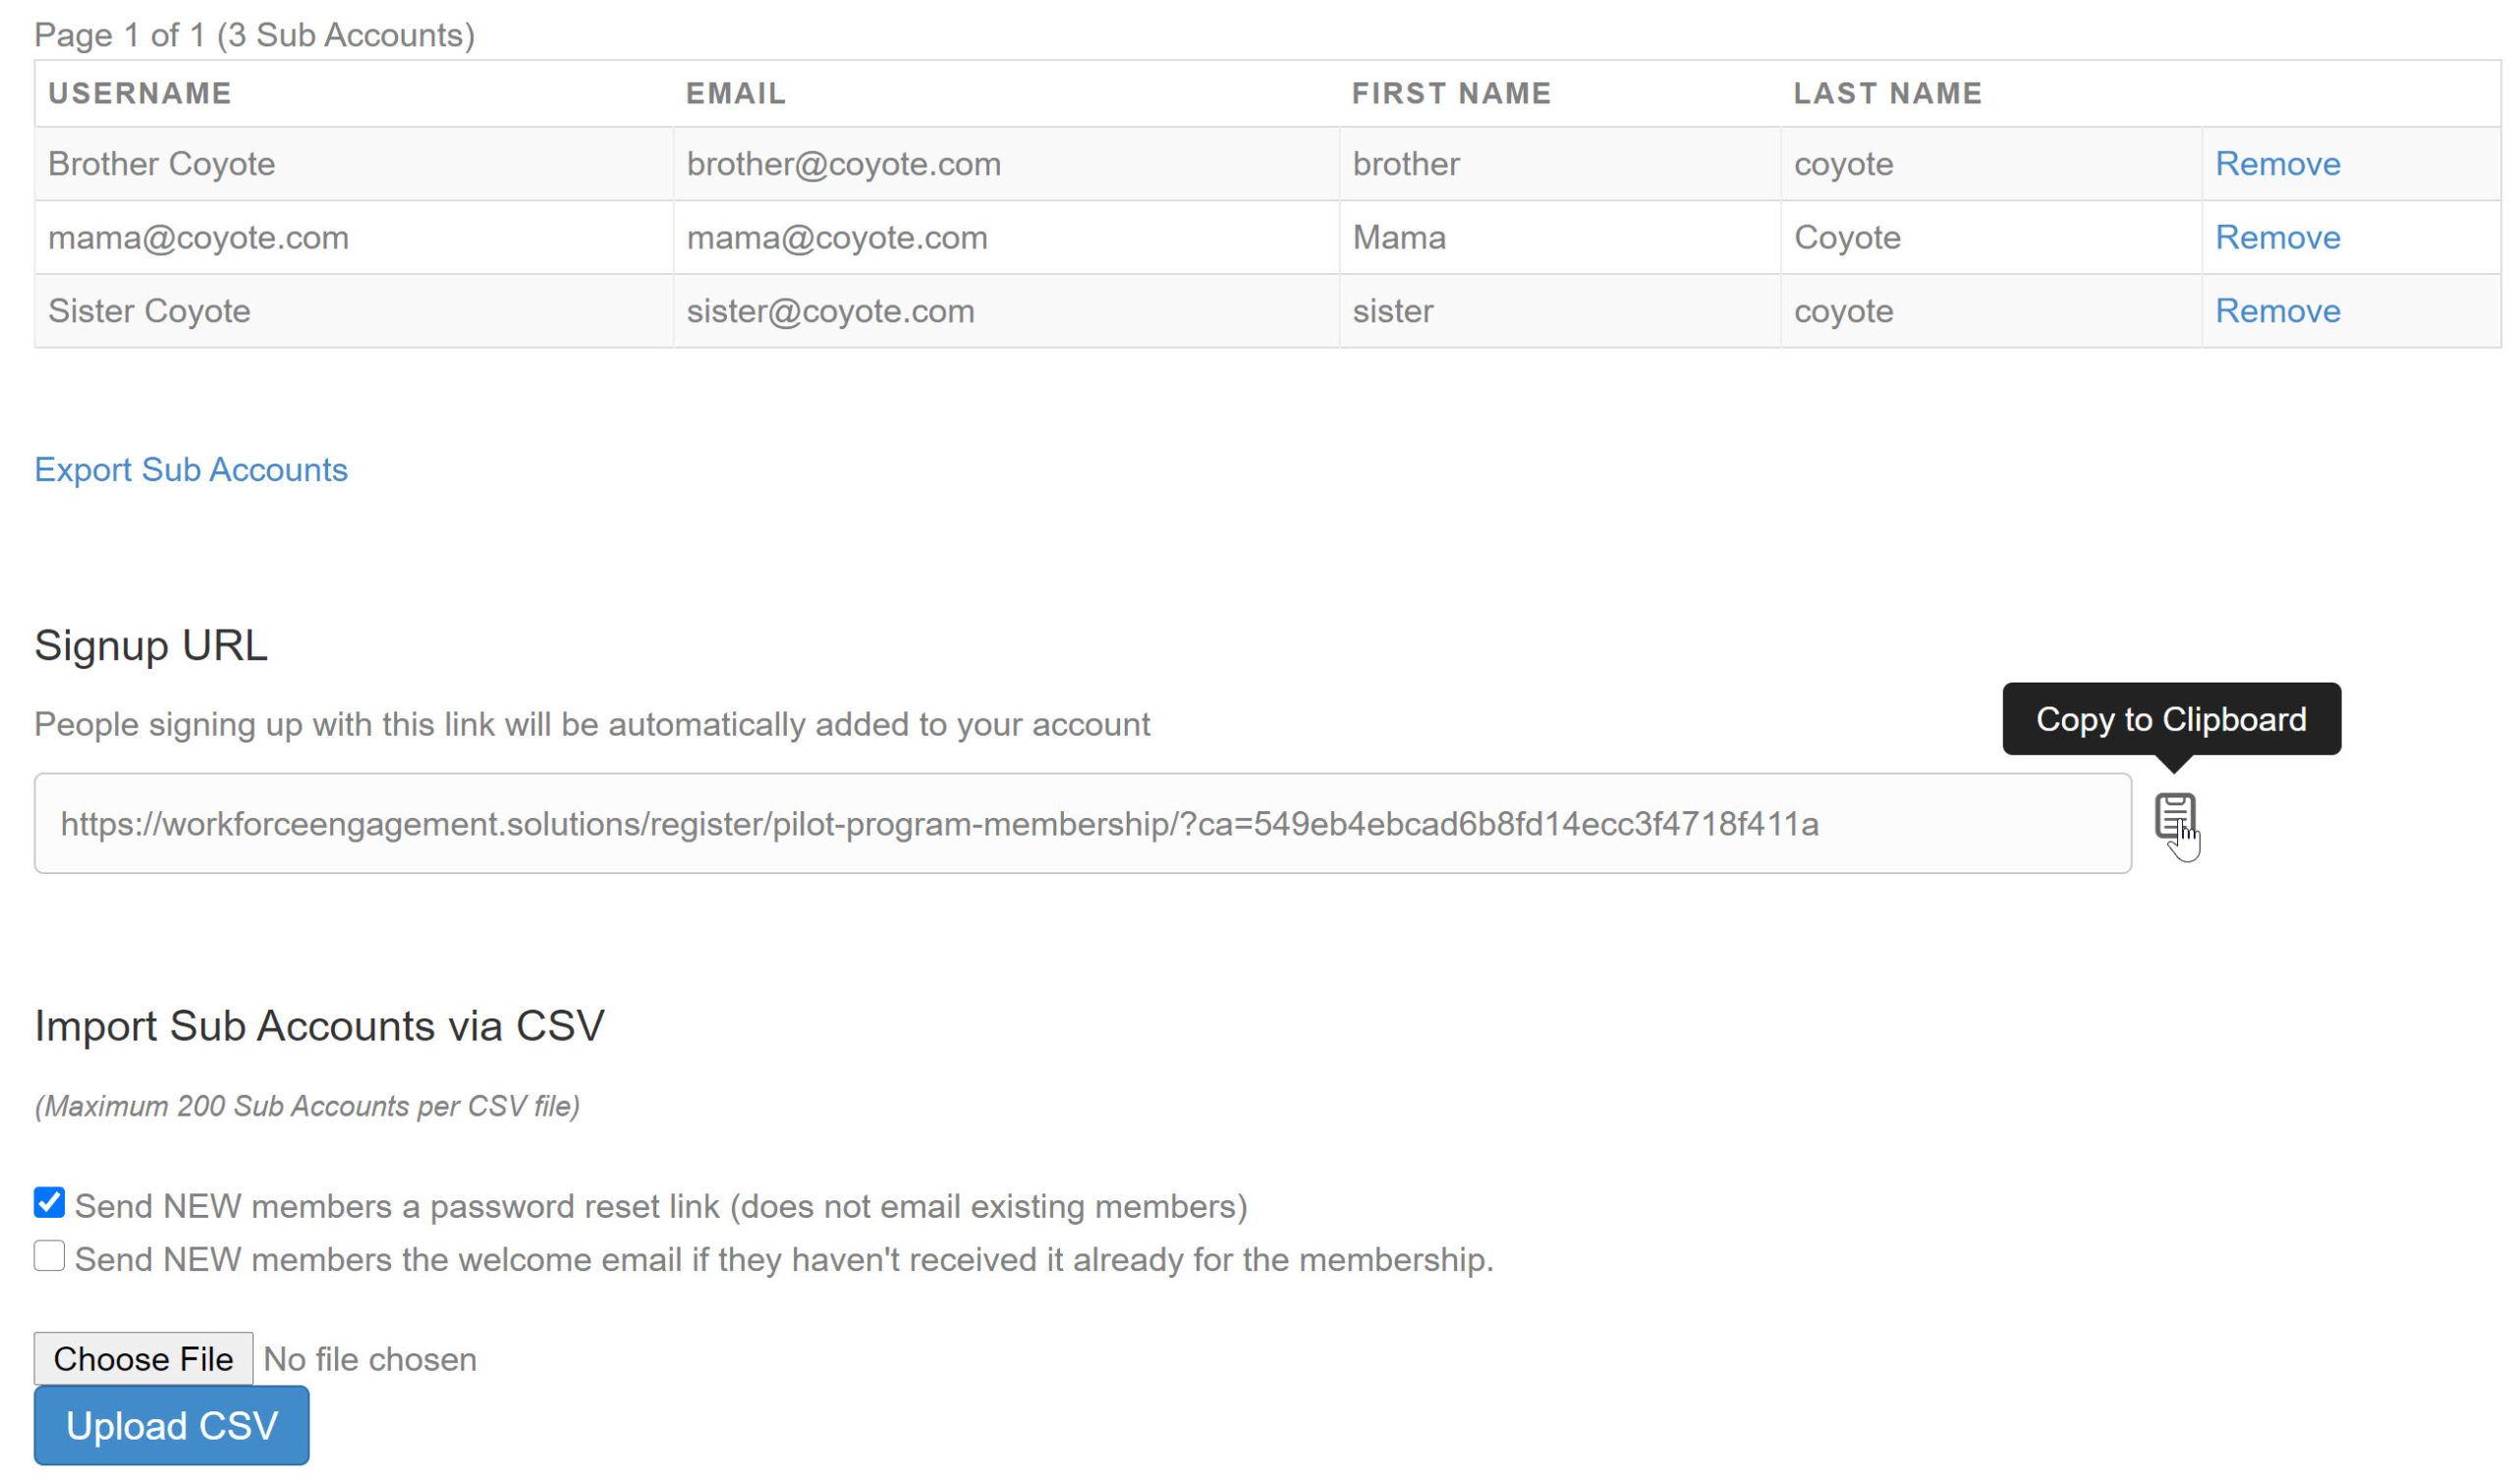
You can add team members to sub-accounts individually or you can add multiple members by uploading a CSV.
Utilize the form to register a team member to a Sub-Account
If you'd like, you can select the checkbox to send the new member a welcome email.
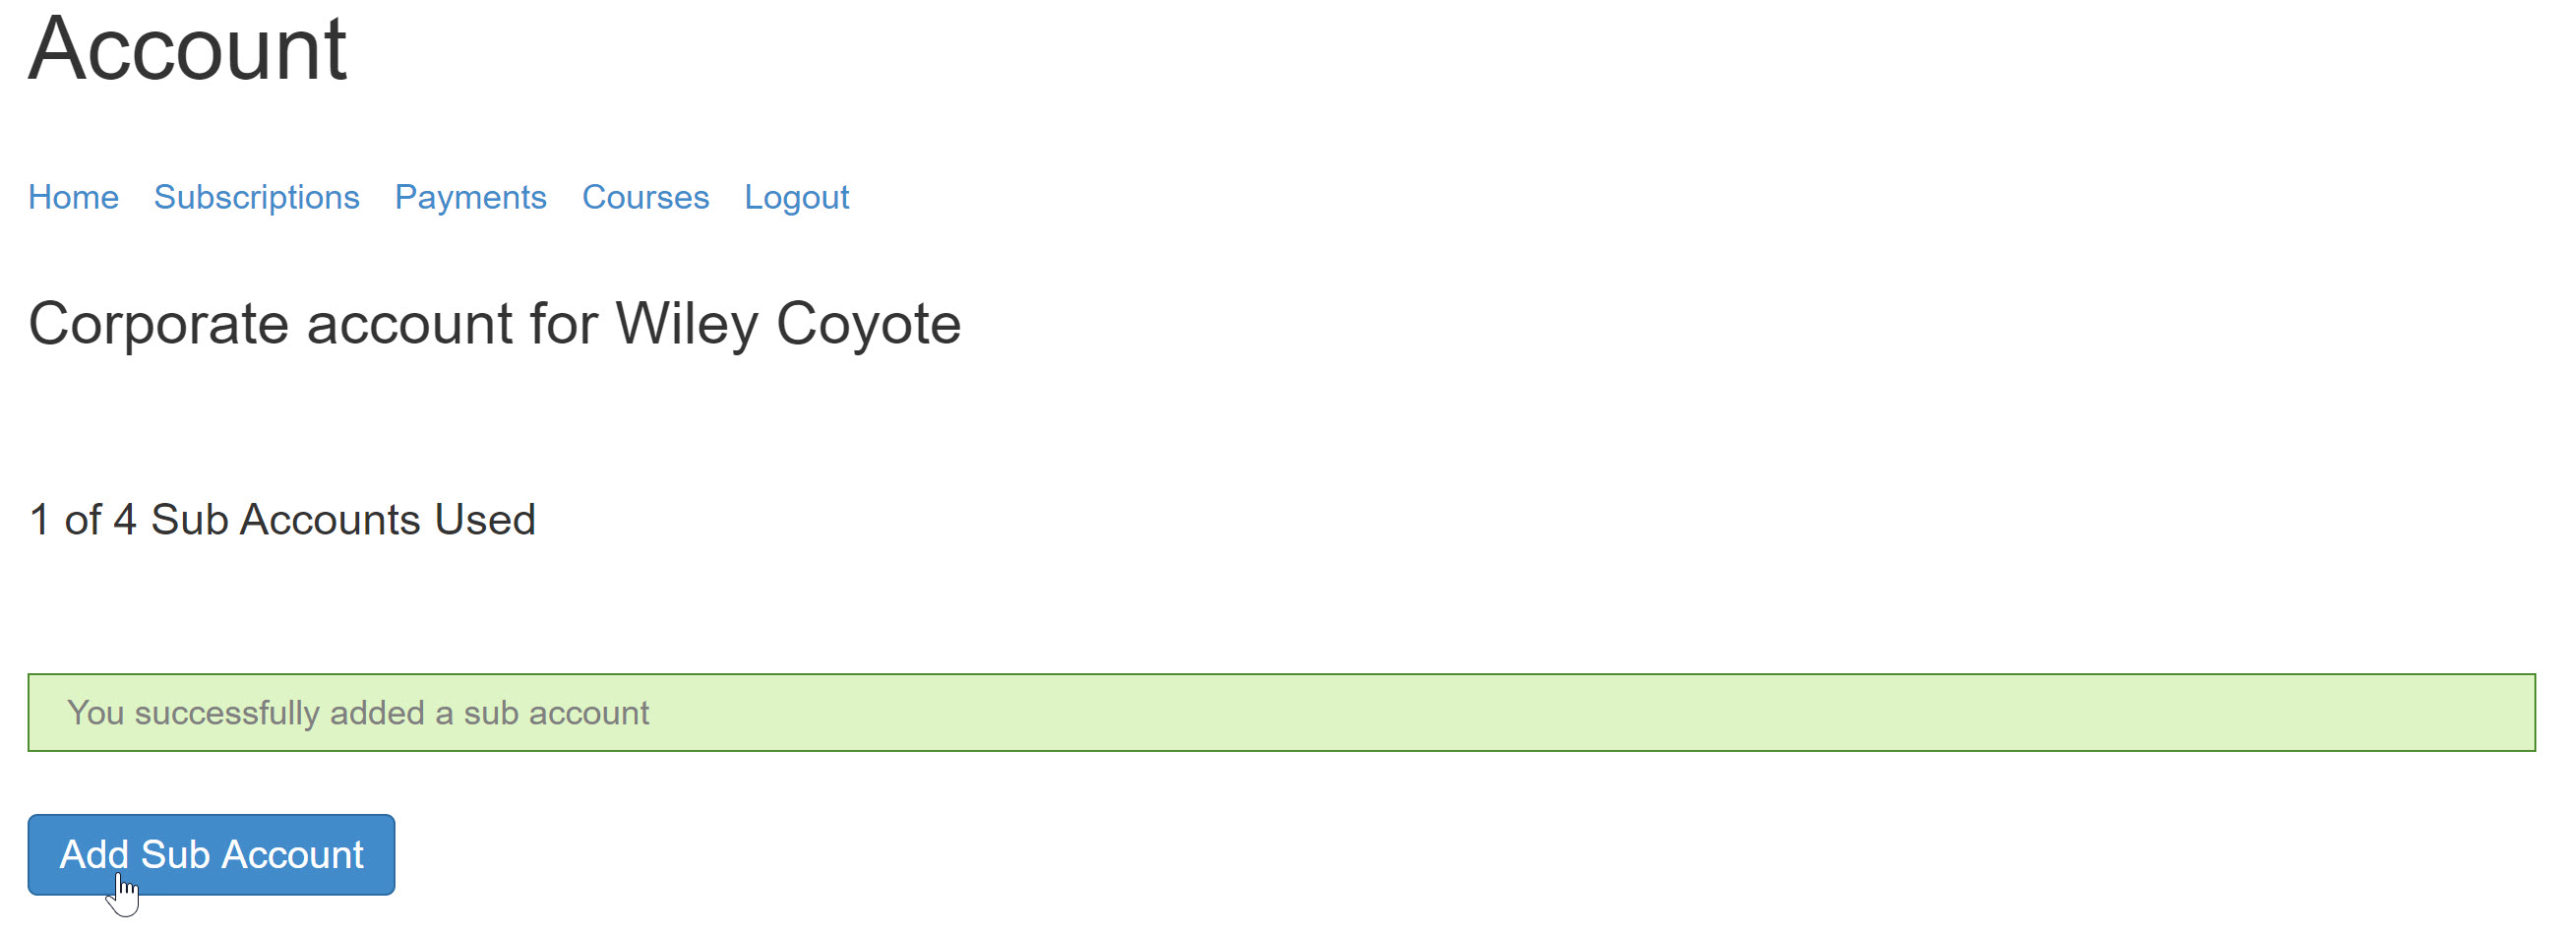
Once you've submitted the information, you will get a confirmation notification.
You'll see one of your sub-accounts has been consumed.


If you have multiple team members you may want to use a CSV file to upload multiple team members.
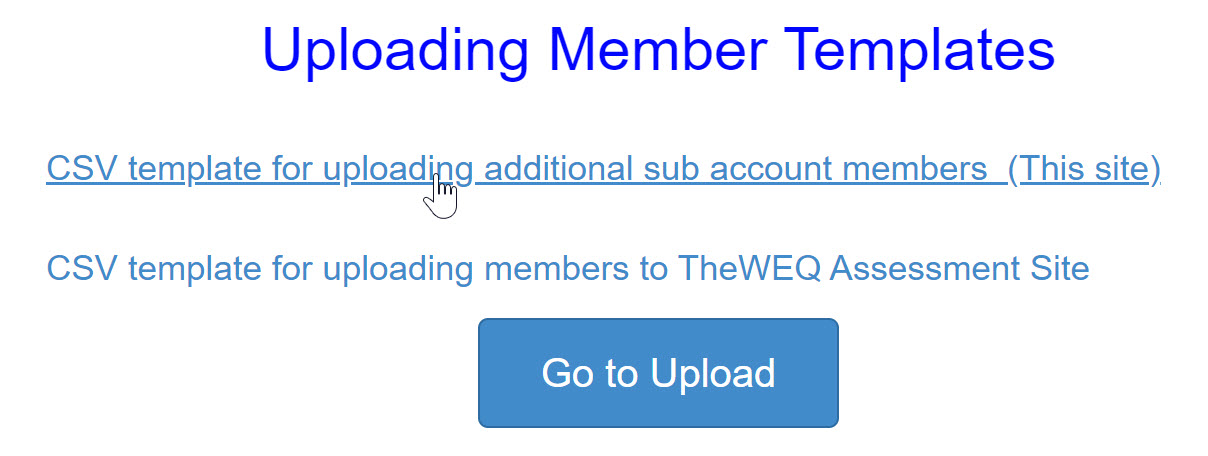
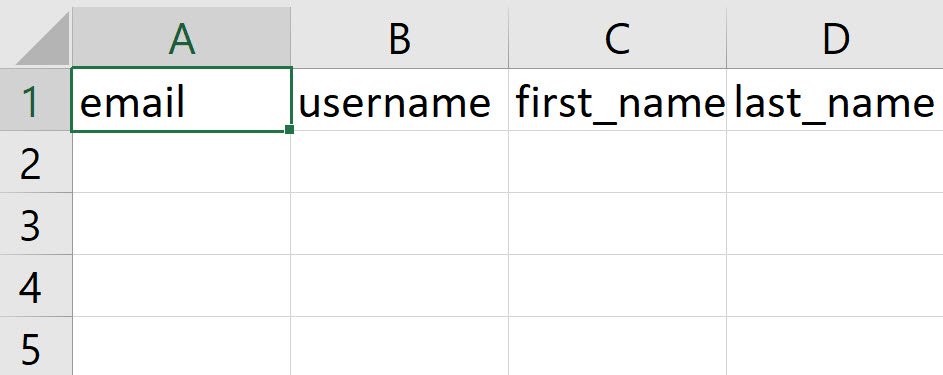
You can access a template from your Member Portal or click on "Export Sub Accounts" to access Excel/CSV files to use as a template for your use.
NOTE: there are fields for
- User Name
- First Name
- Last Name.
It may be helpful to use the e-Mail as User Name or other as desired.
Once created and saved, select the file to upload.
You can notify the new users by copying the URL and adding it to an e-Mail or Selecting the Send NEW members the welcome e-Mail box.
STEP 2: SETTING UP YOUR TEAM TO TAKE ASSESSMENTS AND TRAINING MANAGEMENT
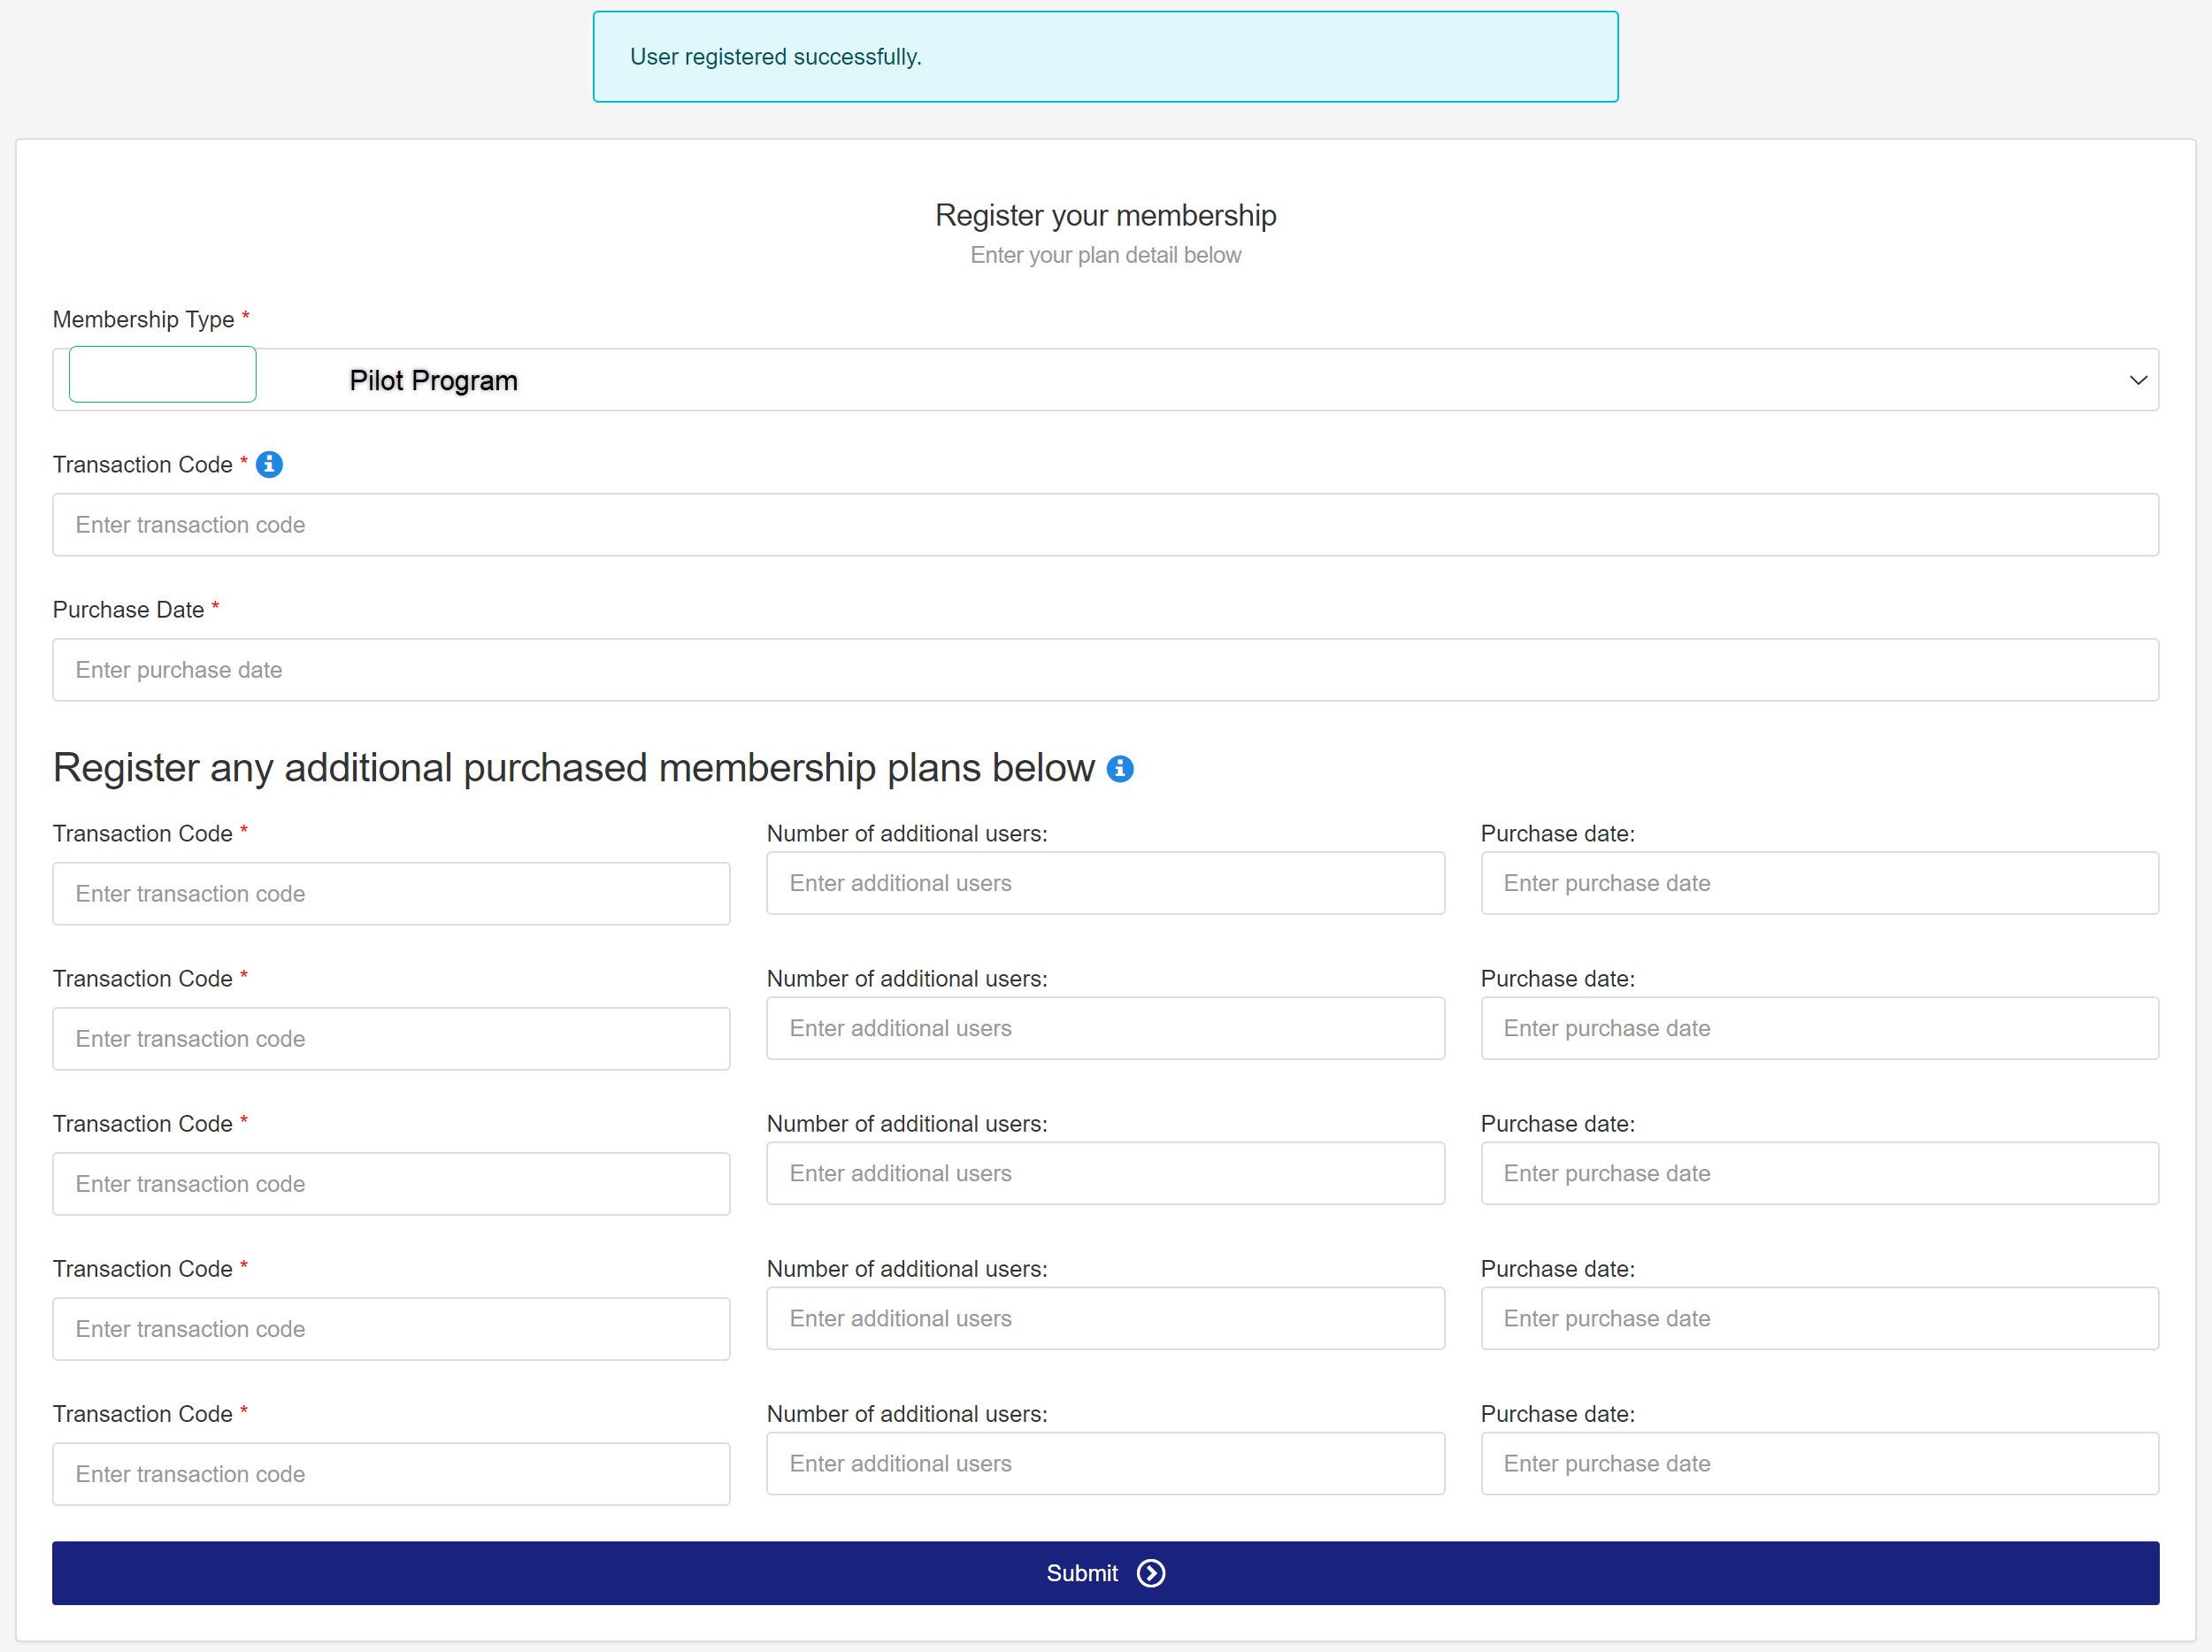
Set up your membership using the "Transaction Code" you took note of earlier.
If you've purchased additional memberships, you'll want to enter that information as well.
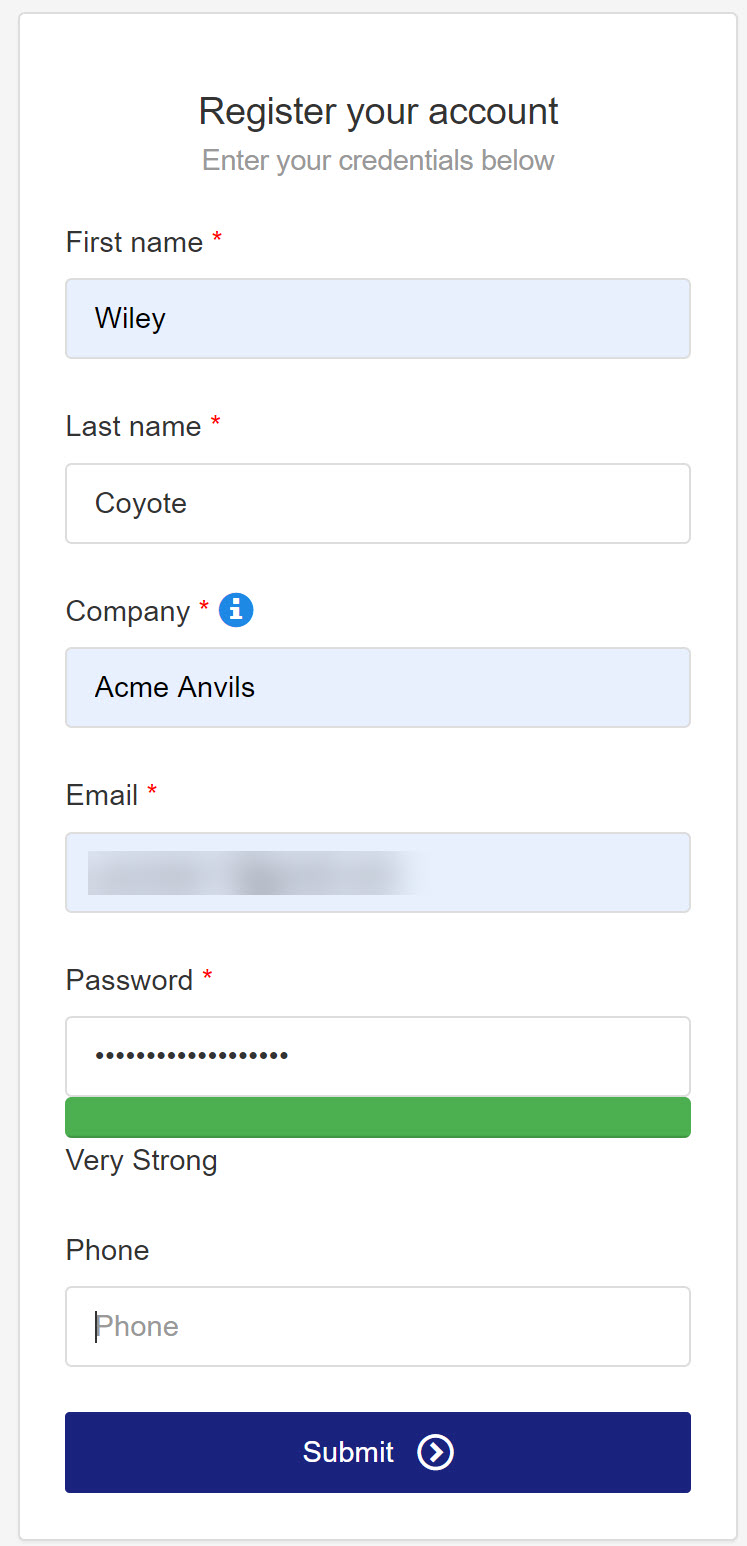
With the membership information, go to URL: https://assessments.theweq.com/admin/new_user to register your new account by completing the form.
Once complete, you'll be taken to TheWEQ assessment login page: https://assessments.theweq.com
Bookmark the site for future use.
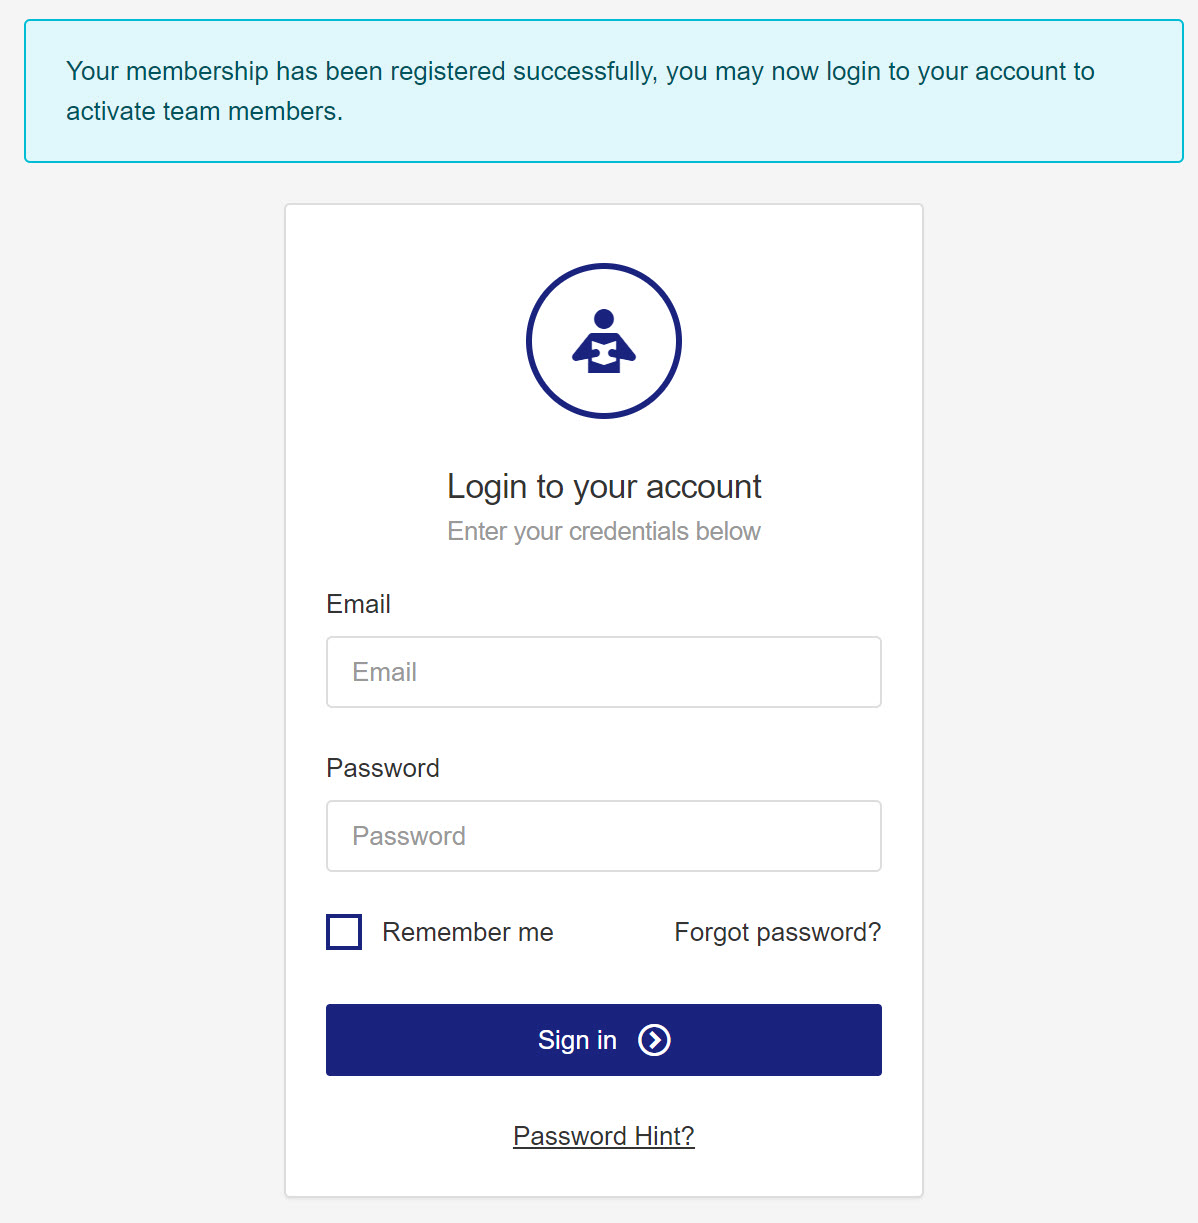
Use your e-Mail address and password you created in the previous step.
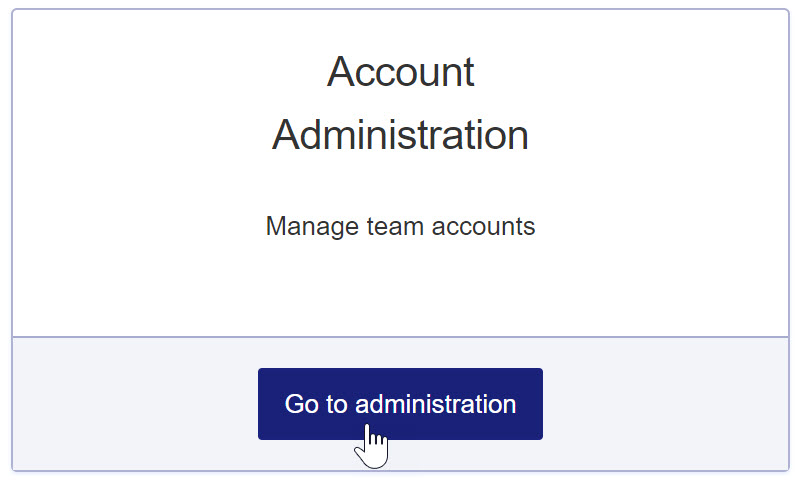
From your dashboard, click on "Go to Administration"
Setting up your organizational structure
Set up your organizational structure so that when you activate new members, you'll be able to fully set them up for training and tracking.
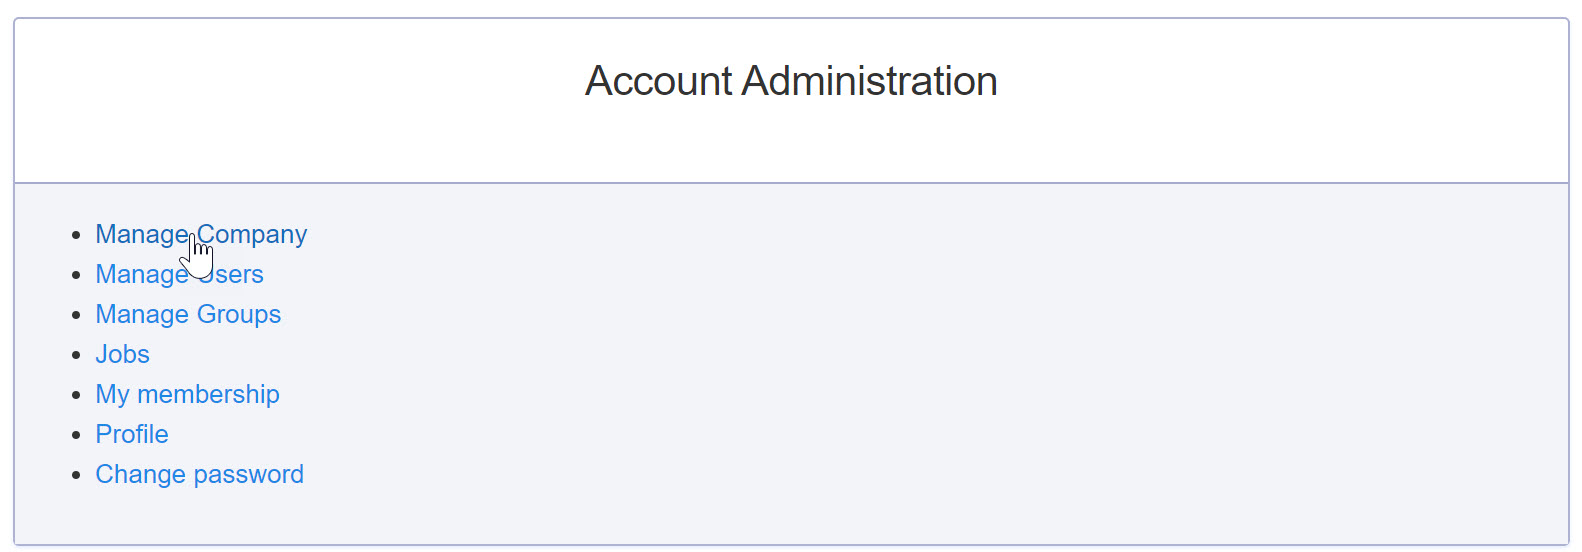
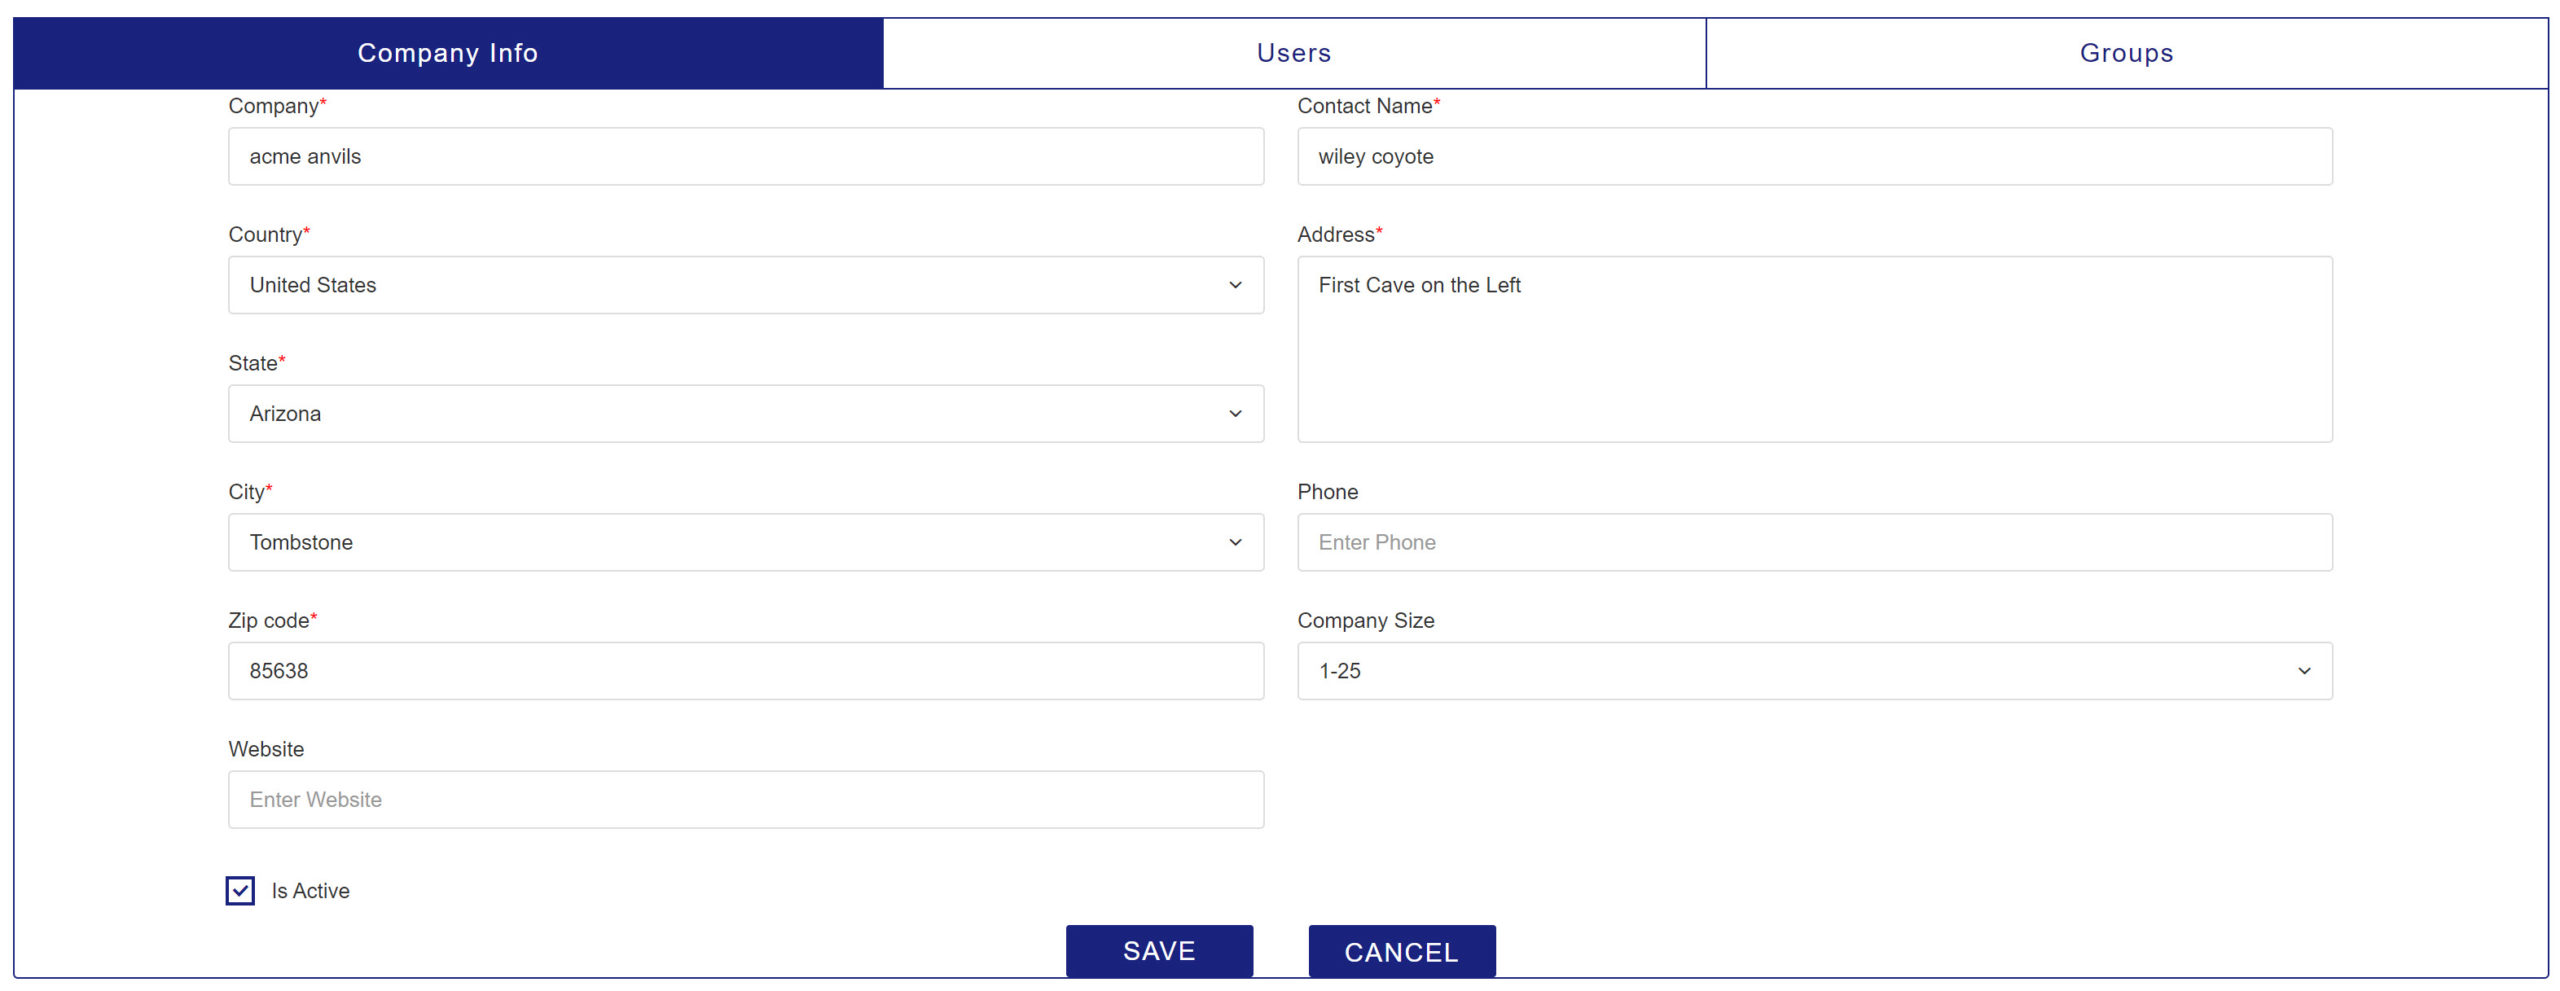
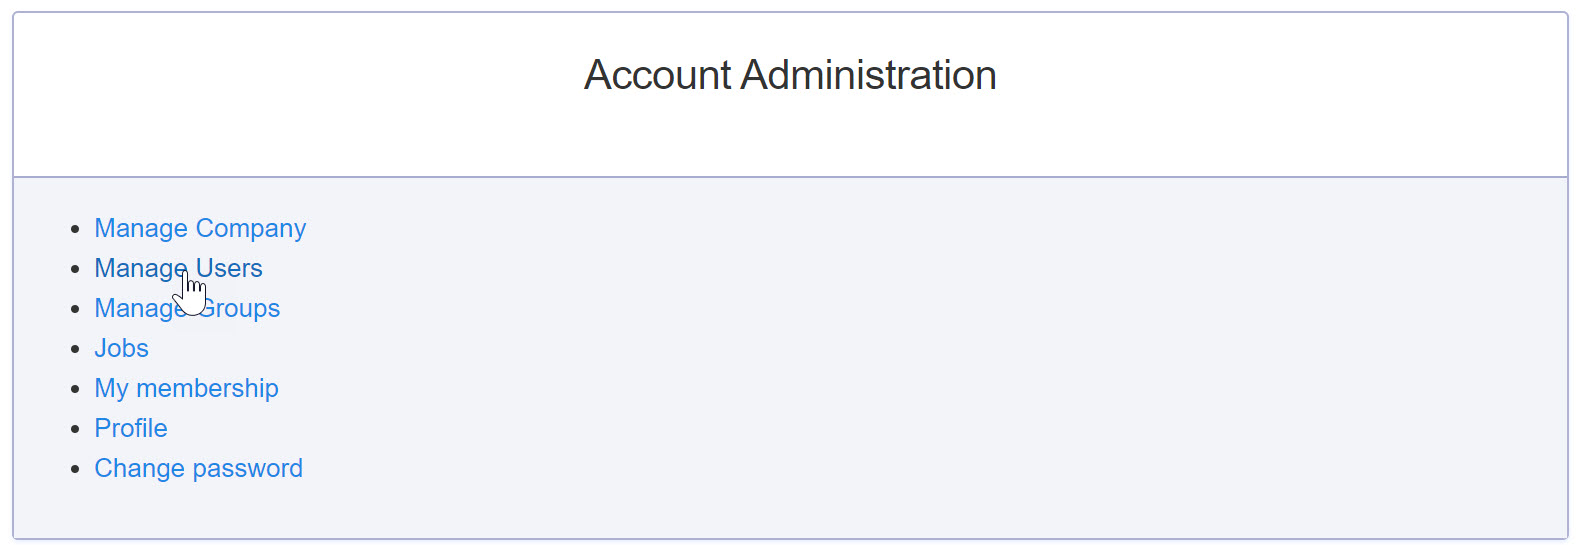
The first step in entering your company/ organization information. Select, "Manage Company".
Enter the information about your company or team. This information is for your own internal use!
NOTE: WES NEVER COMPROMISES OR SELLS ANY CLIENT INFORMATION
The only time WES would review this information is if two companies of the same name are entered to make sure we don't set up different accounts for the same organization.
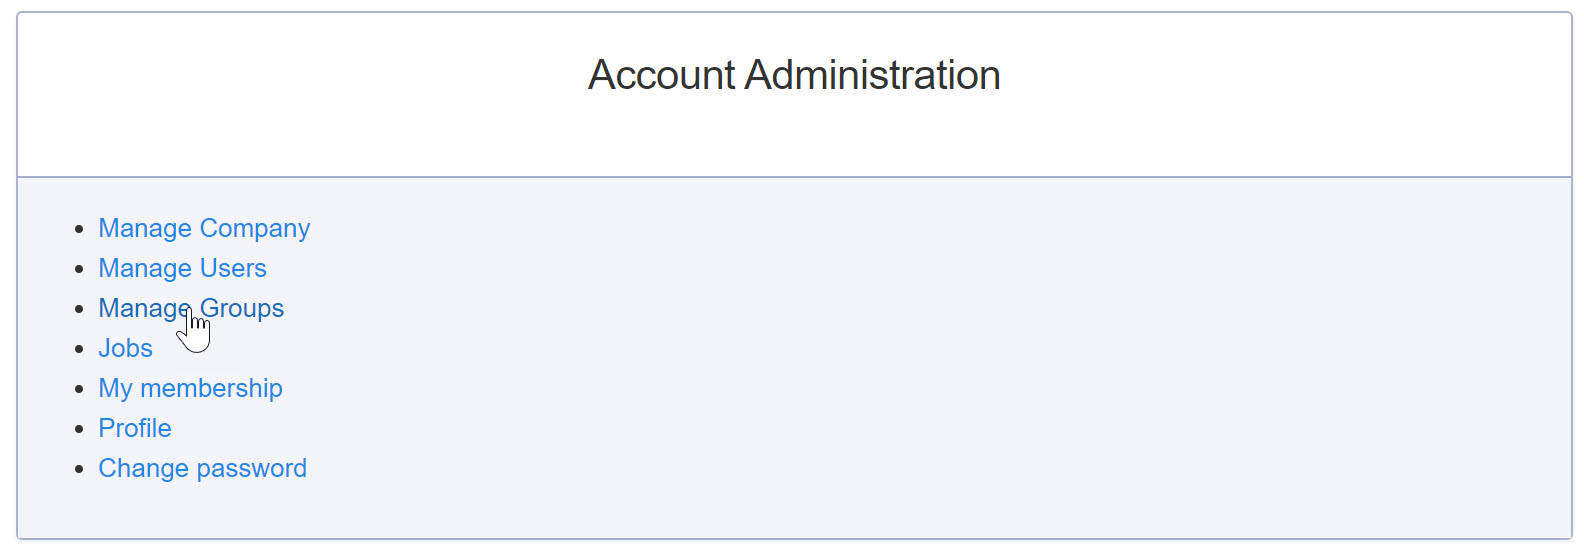
Next, return to Account Administration to set up your organizational structure so that when you activate new members, you'll be able to fully set them up for training and tracking.
Set up groups by selecting "Manage Groups".
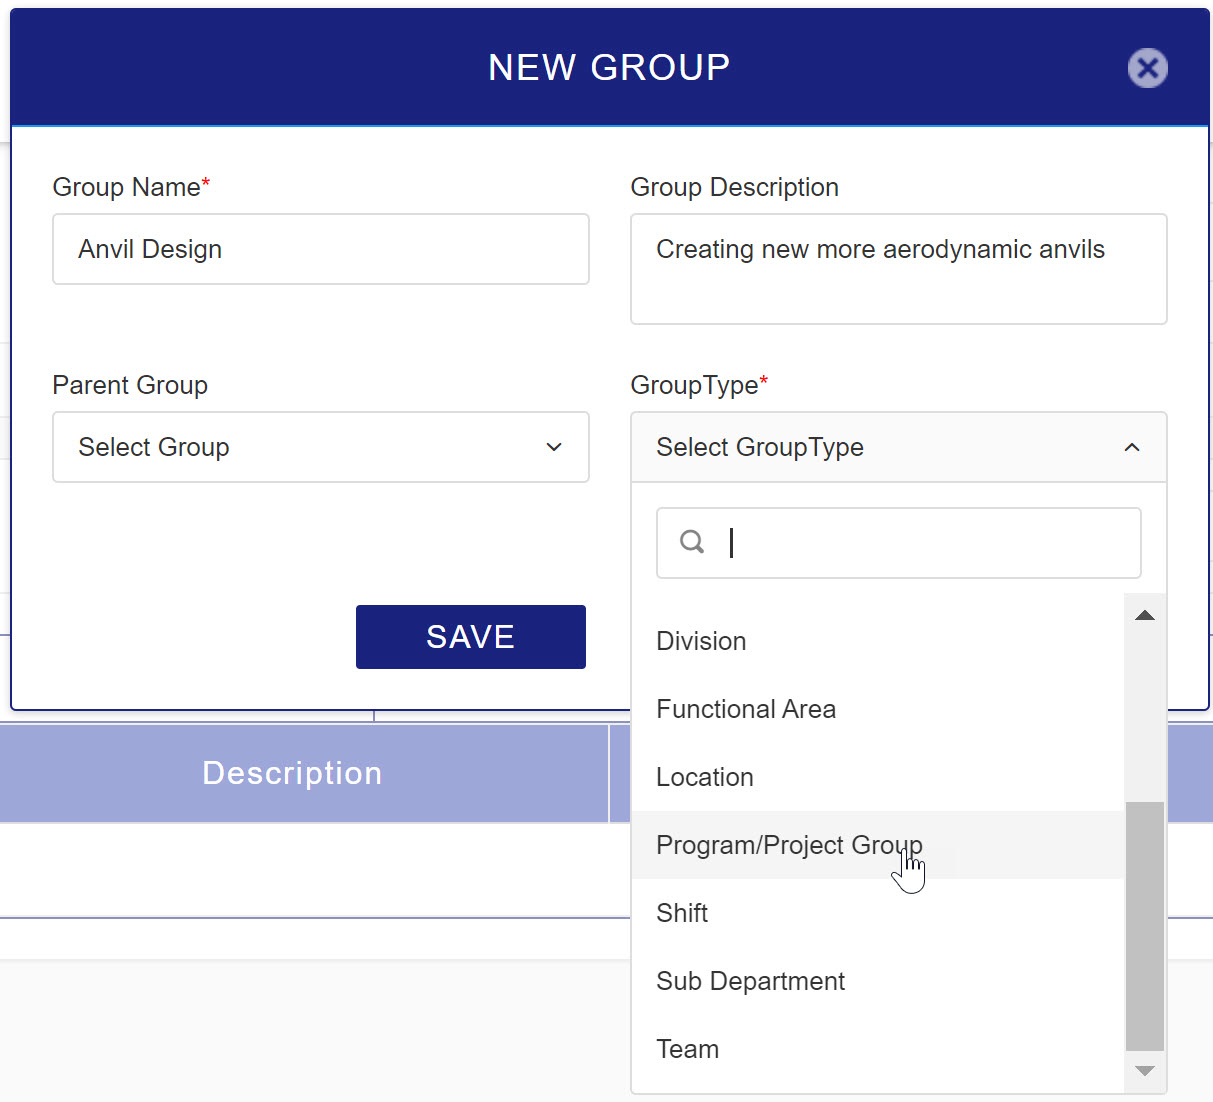
Select the "Add New Group" button on the upper right-hand side of the table.
Reporting is based on the group structure you establish.
Set up your groups and sub-groups.
The Group Description helps others understand the purpose or mission of the group.
The Parent group is team, division, location, or company the group is a part of.
The Group Type is a further representation of the group.
NOTE: FOR REPORTING PURPOSES, GROUP OWNERS CAN SEE THEIR GROUP AND ALL SUB-GROUPS if you have a large organization, it is helpful to set up the entire organization as a group so that company executives can see the entire company and drill down to groups.
NOTE: TO MAINTAIN ANONYMITY, DON'T SET UP A GROUP WITH FEWER THAN 3 PEOPLE - IF TWO OF US ARE IN AN ELEVATOR AND ONE OF US COUGHS, WE BOTH KNOW WHO DID IT.
Set up jobs
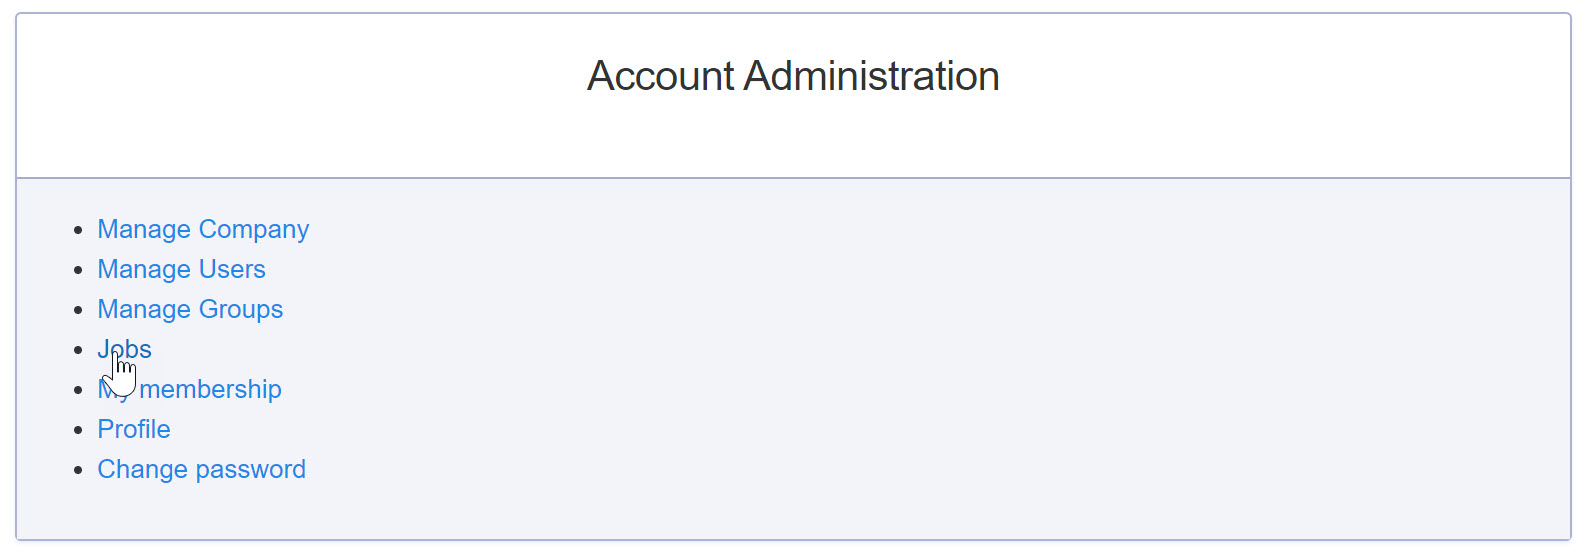
Select the "Jobs" from the Account Administration menu.
Then select the "New Job" button on the top-right side

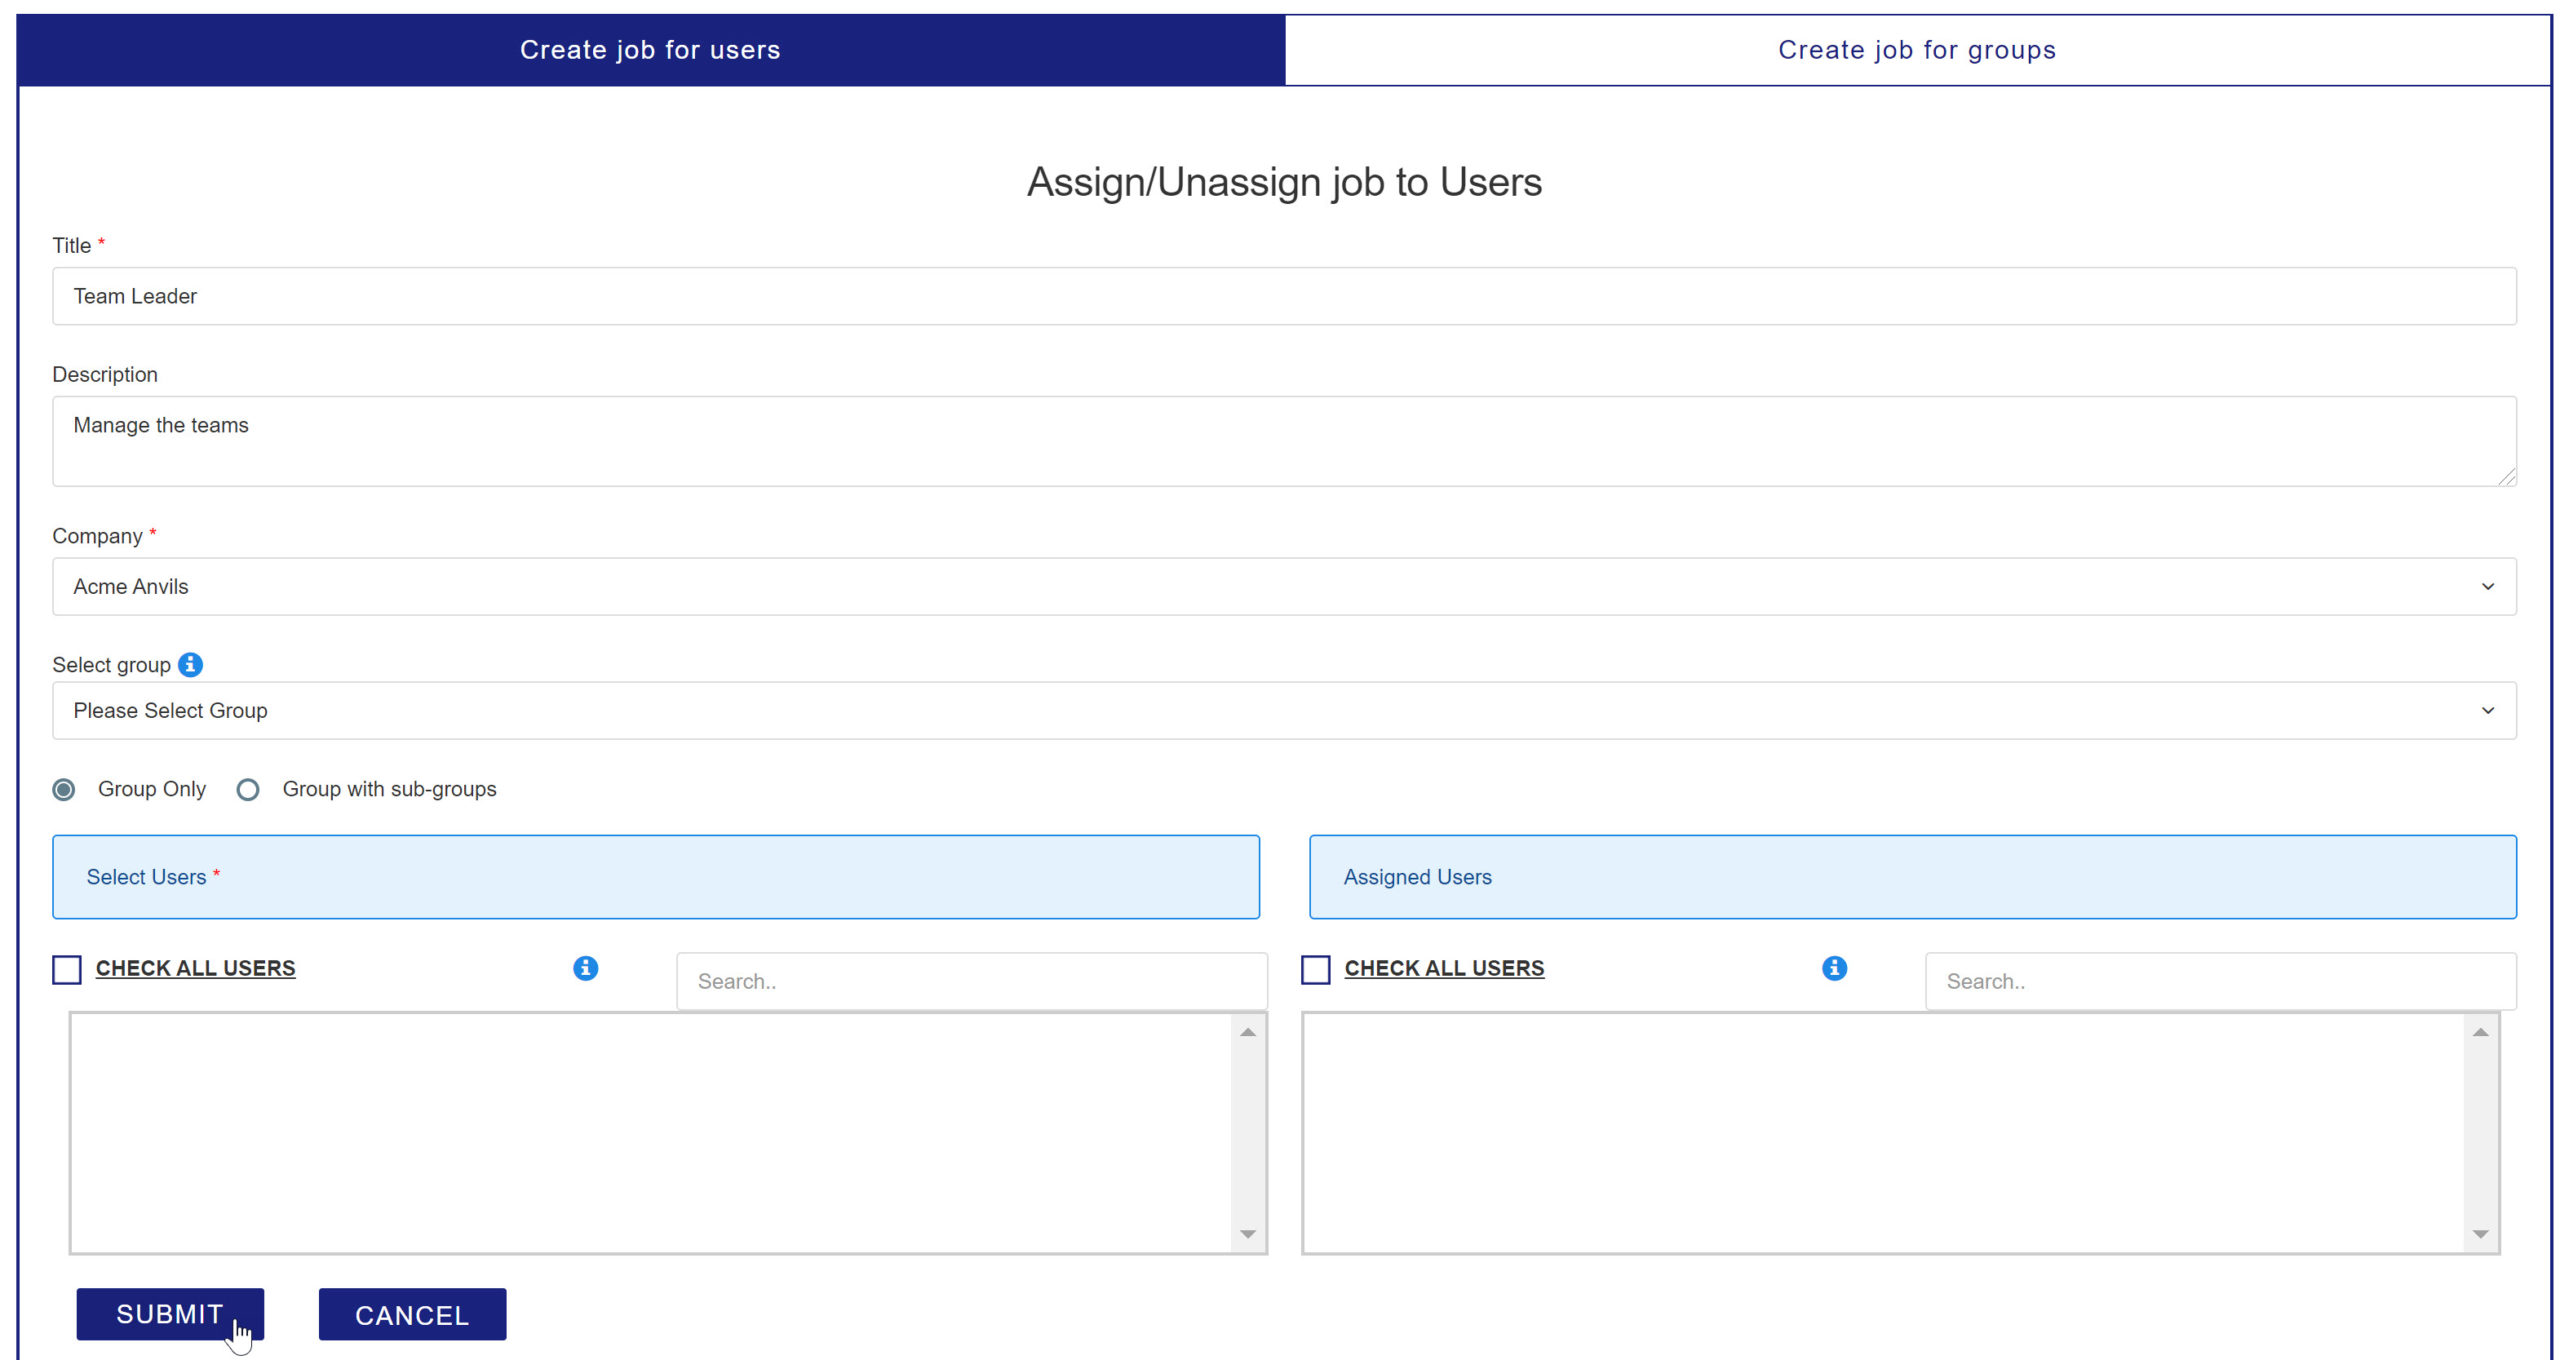
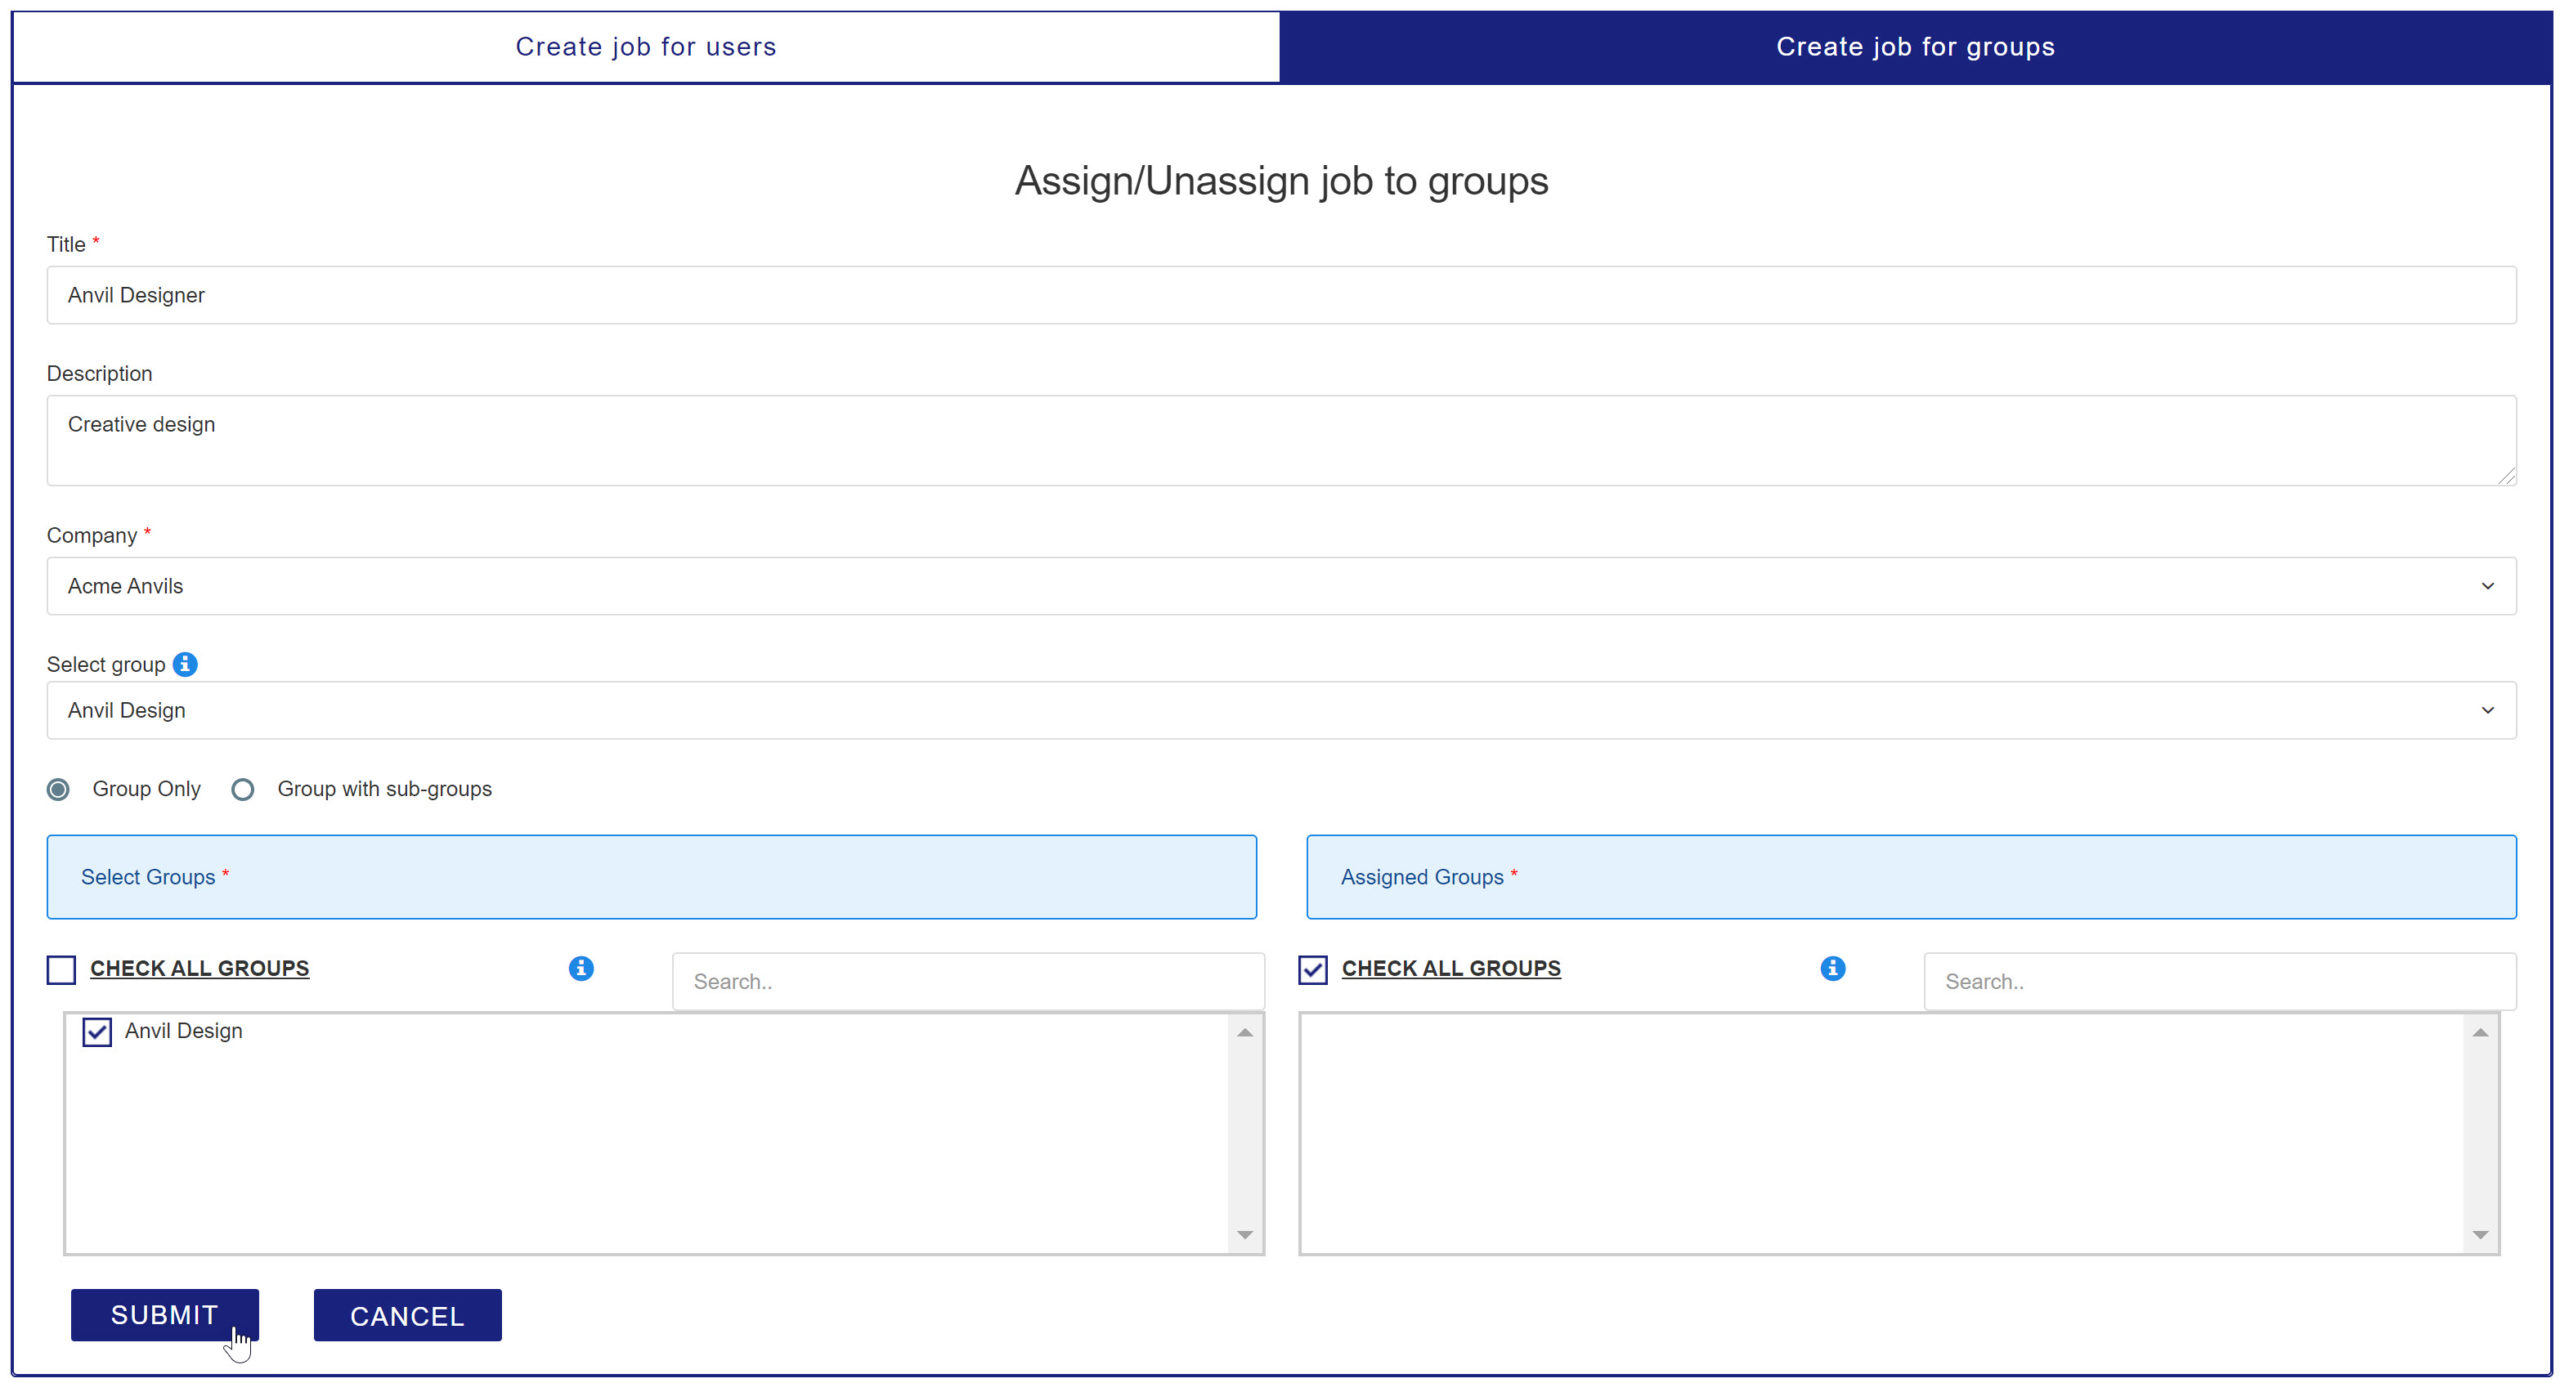
Jobs can be set up for individual "Users" or set up for "Groups"
You'll want to assign jobs to groups when you want everyone from that group to have that job. For example, perhaps everyone in the Customer Service team will be assigned the job Customer Service Rep.
Creating jobs for "Users" allows you to assign the jobs to individuals regardless of which group they are assigned. For instance, the job "Team Leader" or "Emergency Responder" may be assigned to individuals based on their roles, not their jobs.
The jobs you set up will also be important for the Training Management when you assign Qualification/Training Checklists (QCLs) to jobs or to groups.
Set up users
Now that you've set up the Company, Groups, and Jobs, it's time to activate your "Users".
From the Account Administration menu, select "Manage Users"
Select the "Add New User" button on the top-right side
Now that you've set up the Company, Groups, and Jobs, it's time to activate your "Users".
From the Account Administration menu, select "Manage Users"
Select the "Add New User" button on the top-right side.
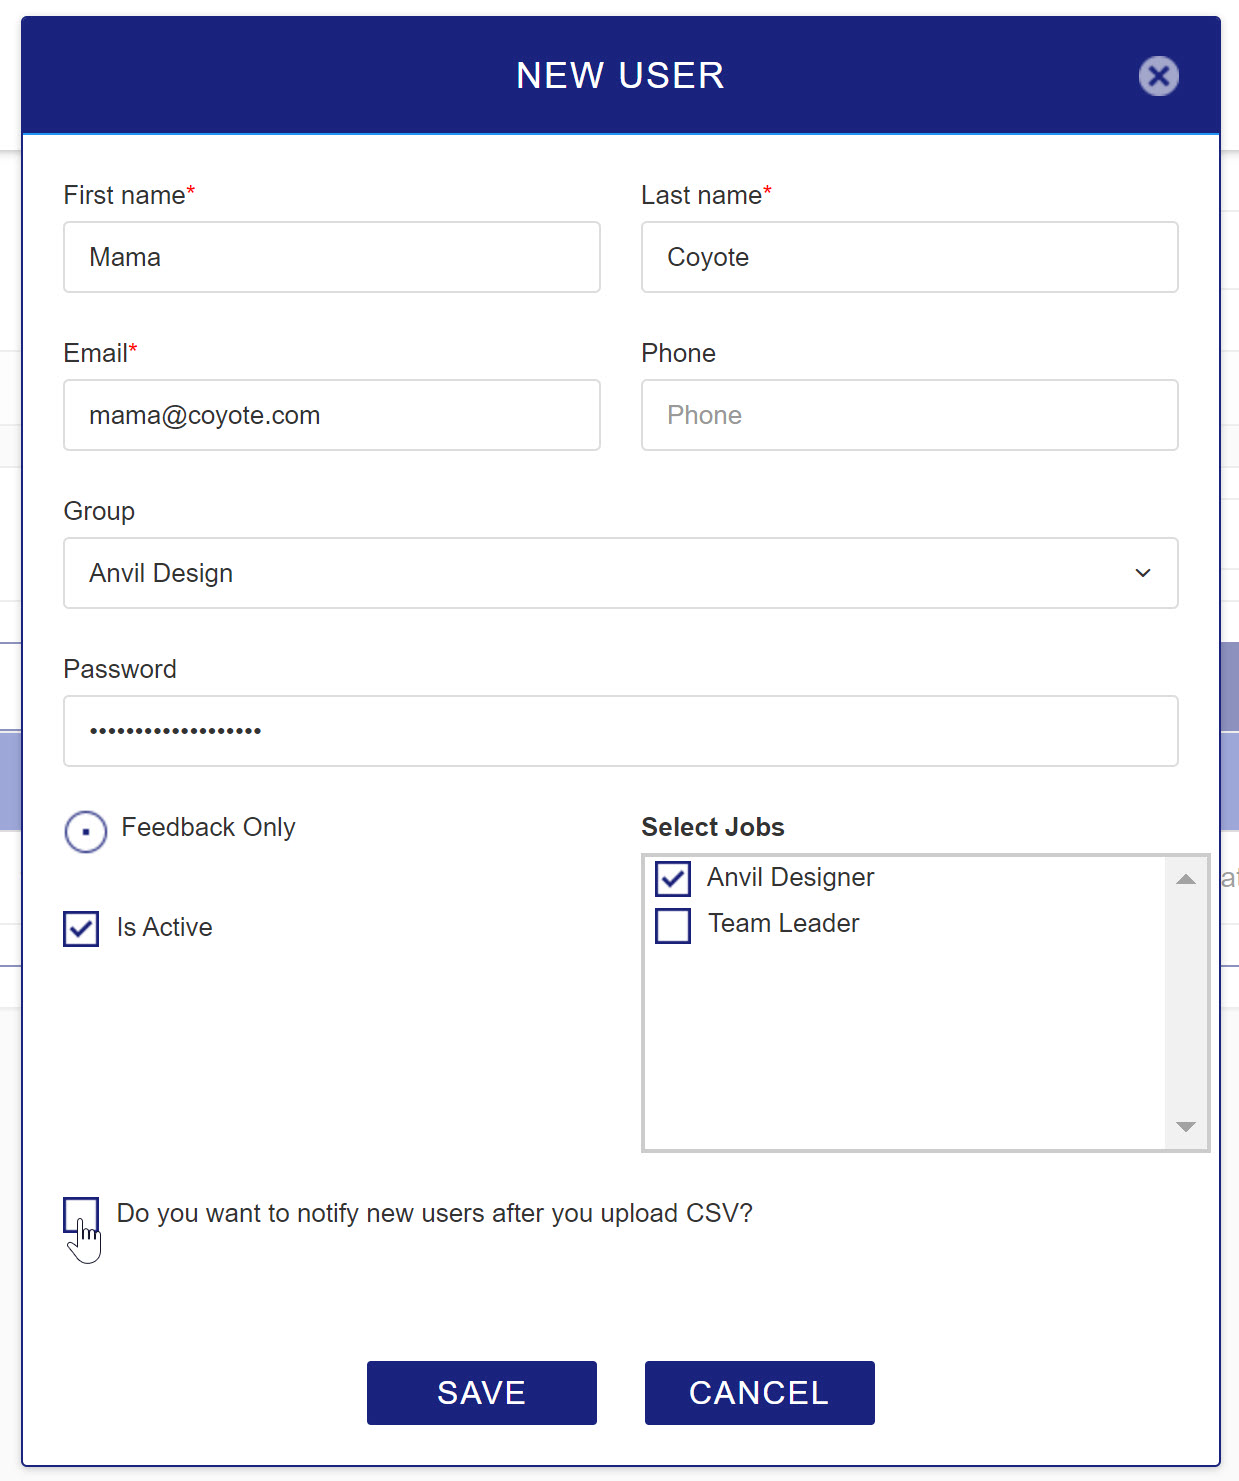
Complete the information on the new user form. The fields with asterisks are mandatory.
Assign the user to a Group and select which jobs they are assigned.
You'll also want to select their "Role". If your membership is a Pilot Program, the only role available to members is "Feedback Only". If you have a Small or Large Team membership, you will have the following options:

- Regular Users - can only see their own records
- Group Owners - can see their records and the records of their groups and sub-groups
- Company Owner - can see their own records and the records of all groups and sub-groups
NOTE: Training records are available for individuals. Assessment and feedback records for groups and sub-groups are aggregated to maintain individual anonymity.
Click on whether the individual is "Active" (users that leave the team/company can be made Inactive but maintain group history.
Finally, select whether you want to notify the individual that they have been activated so they can log in.
If you have multiple members to upload, you can set up a CSV template.
You can download a CSV template from the Member Portal.
Enter the information that you would have entered for each individual. Using the CSV file is much more efficient if you have multiple team members.
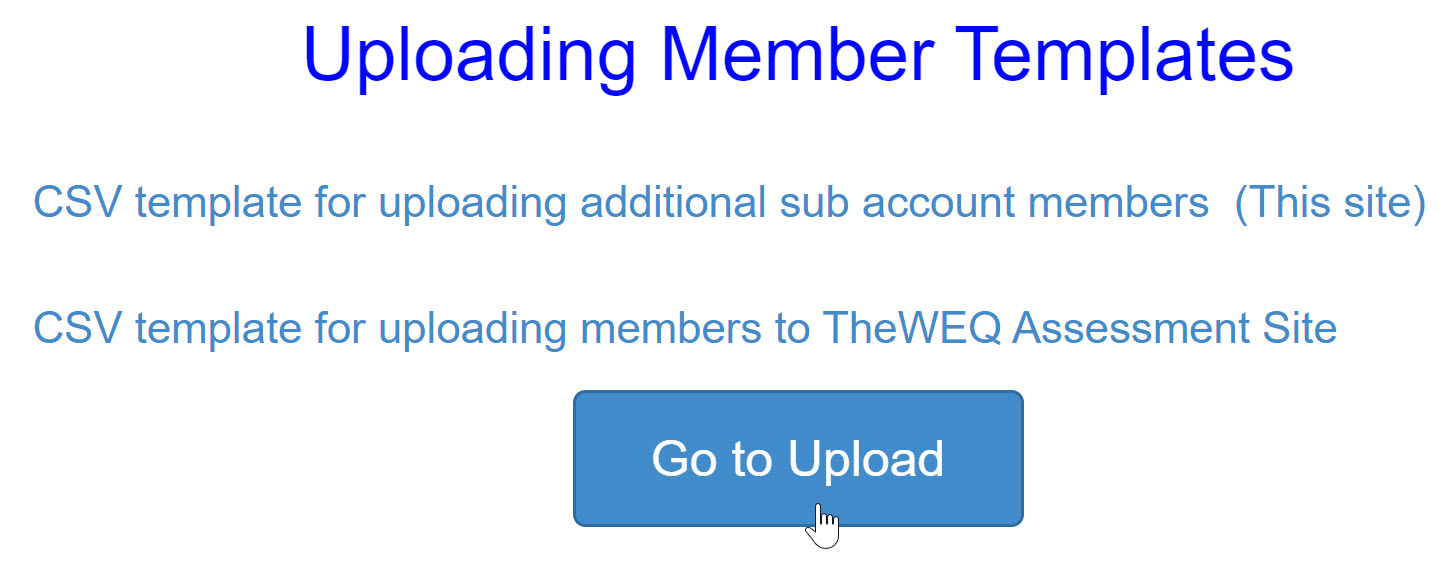
Once you've filled out the CSV file and saved it. Click on the "Go to Upload" button which will take you to the "Import Users CSV File page within TheWEQ assessment engine.
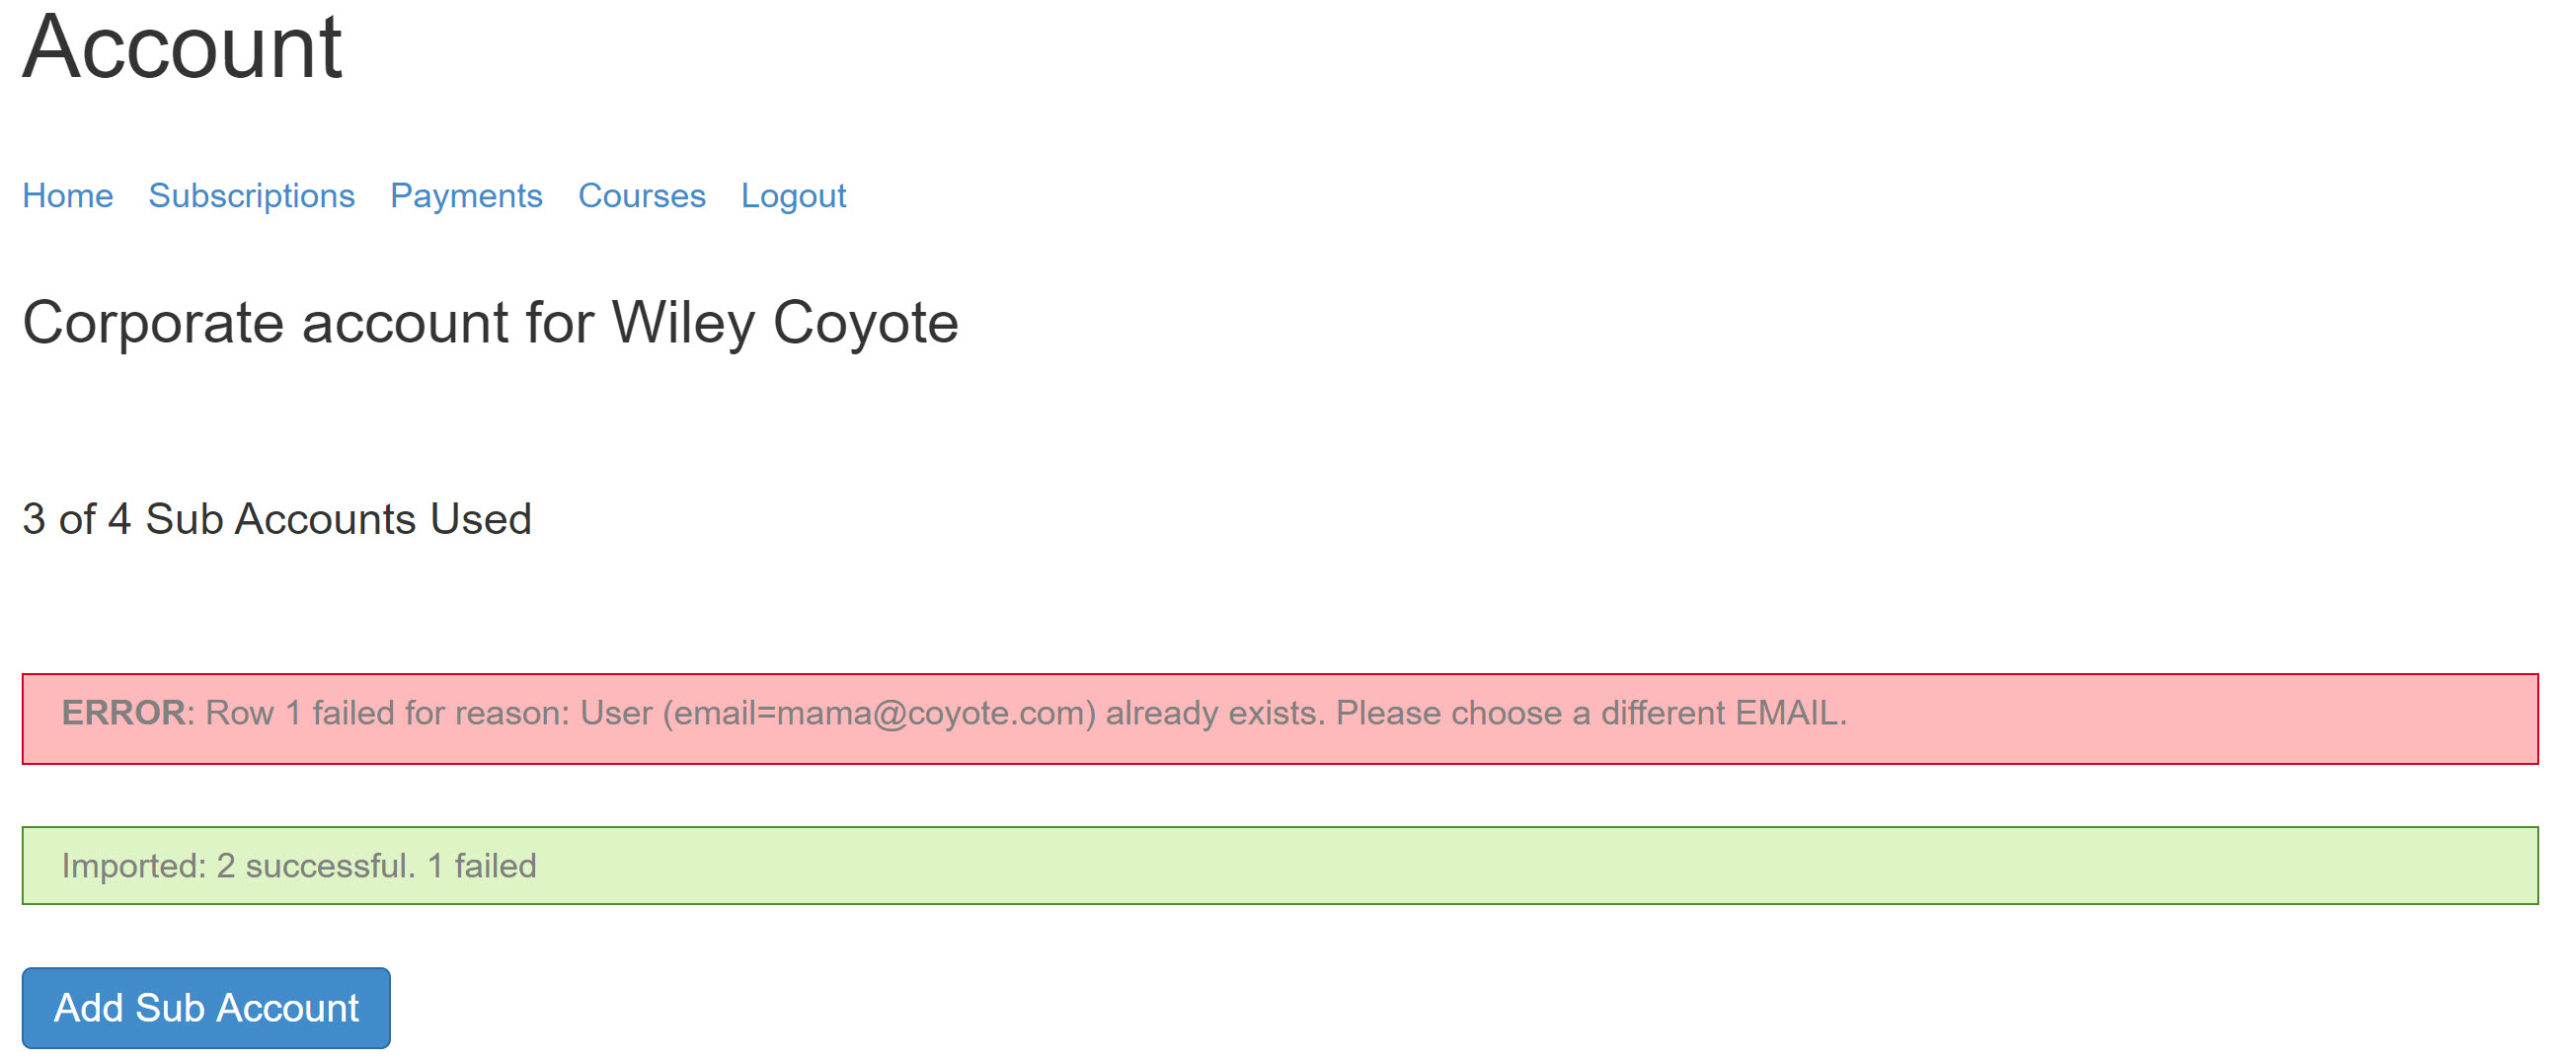
NOTE: If a user email already exists, that record will not be uploaded so no duplicate records will be created.

Now that you have set up your organization and uploaded your team members, you are ready to conduct team assessments, manage training, and utilize the leadership development tools within TheWEQ suite of solutions.
Instructions are available for each of these areas can be accessed from the Member Portal.


